
Yes, you can typically turn drilled and slotted rotors, but with important considerations. While the slots and holes are designed for performance, they can affect the machining process. Properly turning them can restore a smooth braking surface and extend their life, but it requires careful technique and understanding of their unique characteristics.
Must-Have Tools in Your House If You Work Regularly


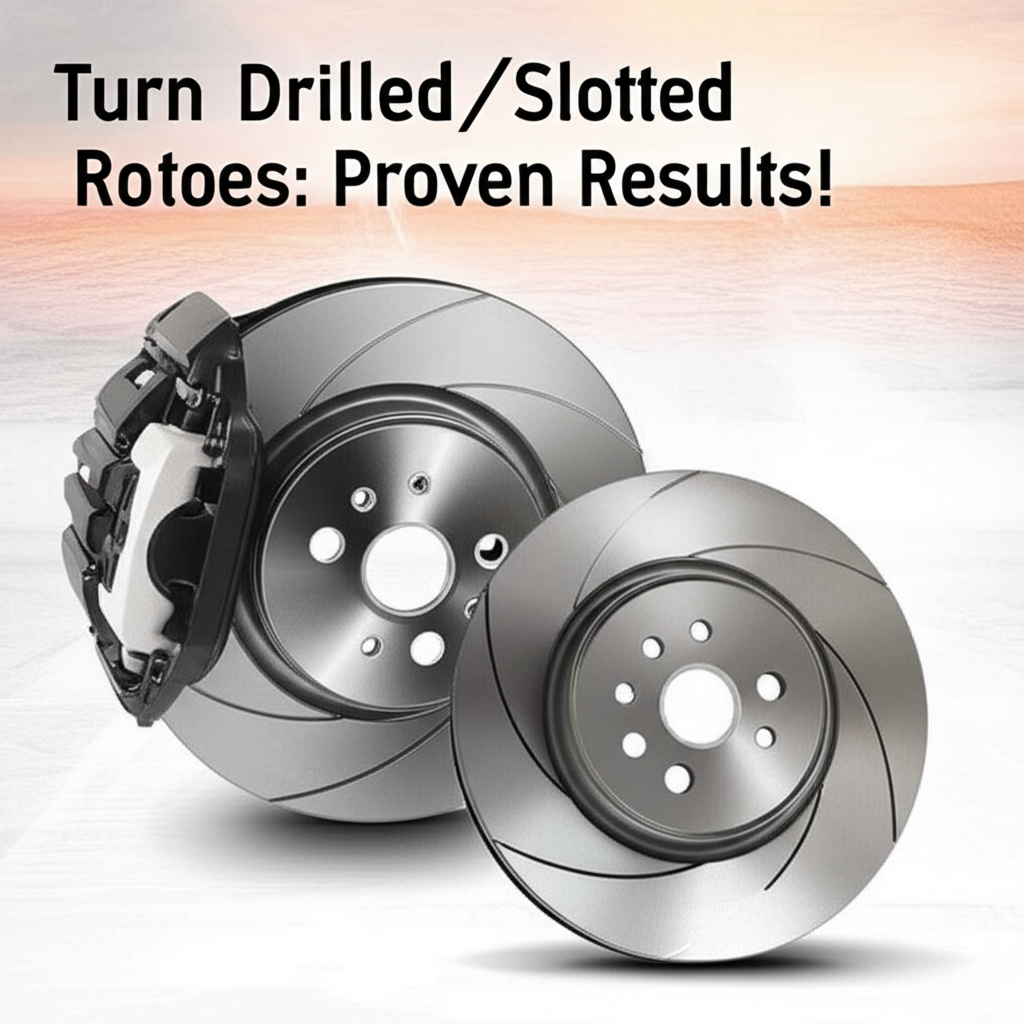
Can You Turn Drilled and Slotted Rotors? Proven Results for Smoother Braking!
Are you noticing some annoying noises or a less-than-smooth feel when you brake? You might be wondering if those cool-looking drilled and slotted rotors on your car can be “turned” like regular ones. It’s a common question, especially for DIYers and car enthusiasts who want to get the most out of their braking components without always opting for a full replacement. The good news is that, in many cases, the answer is a resounding yes! However, it’s not quite as straightforward as turning a standard rotor. The unique design of drilled and slotted rotors means there are a few extra things to keep in mind to ensure you get safe, effective results. Let’s dive into how you can tackle this task and what you need to know to get your brakes feeling like new again.
Understanding Drilled and Slotted Rotors
Before we get into the “how,” let’s quickly touch on “why” these rotors exist. Drilled rotors feature holes drilled through the rotor face, while slotted rotors have grooves or slots machined into their surface. Both designs aim to improve braking performance, especially under demanding conditions.
The holes in drilled rotors help dissipate heat and gases that can build up between the rotor and brake pad, which can lead to “brake fade” – that spongy feeling when your brakes don’t perform as well. They also help sweep away dust and moisture. Slotted rotors serve a similar purpose, channeling gases and dust away from the braking surface and helping to keep the pads cleaner and more consistent.
While these performance enhancements are great, they do introduce complexities when it comes to resurfacing, or “turning,” the rotors. This is where many DIYers and even some professional shops pause and ask the crucial question: “Can you turn drilled and slotted rotors?”
The “Can You Turn Drilled and Slotted Rotors?” Question Answered
Let’s get straight to it. Yes, in most situations, you can turn drilled and slotted rotors. The process of turning, also known as machining or resurfacing, involves removing a thin layer of material from the rotor surface to create a fresh, flat surface for the brake pads to grip. This can correct minor warping, glazing, or uneven wear, restoring smoother braking and potentially extending the life of your rotors.
However, the key to success lies in understanding the limitations and potential pitfalls associated with the drilled and slotted design. It’s not as simple as just clamping any rotor onto a lathe.
Factors to Consider When Turning Drilled and Slotted Rotors
When you’re looking at your drilled and slotted rotors and considering a turn, keep these critical factors in mind:
- Rotor Thickness: This is the most important factor. Every rotor has a minimum thickness specification, usually stamped on the rotor’s hub or edge. This is the absolute thinnest the rotor can be while still being safe and effective. Turning removes material, so you must ensure that after machining, the rotor remains above this minimum thickness. If the rotor is already close to its minimum thickness, turning it would be unsafe and is not recommended.
- Type of Slots and Holes: Performance rotors come in various designs. Some slots are simple grooves, while others are more complex patterns. Similarly, drilled holes can vary in size and depth. The machining process needs to accommodate these features without compromising the rotor’s structural integrity.
- Condition of the Rotor: If the rotor has significant damage, such as deep grooves, cracks, or severe warping that requires removing a large amount of material, it might be beyond the point of safe resurfacing.
- Machining Equipment: Not all brake lathes are created equal, and not all operators are experienced with the nuances of turning performance rotors. A proper brake lathe with the correct tooling and settings is essential.
The Process: How to Turn Drilled and Slotted Rotors
Turning drilled and slotted rotors is a job best left to those with access to a professional brake lathe and the knowledge to operate it correctly. Here’s a general overview of the process, highlighting the considerations for performance rotors:
Step 1: Inspection and Measurement
Before anything else, a thorough inspection is crucial. This involves:
- Visual Check: Look for any cracks, deep gouges, scoring, or signs of overheating (blueish discoloration).
- Thickness Measurement: Using a micrometer, measure the rotor thickness at several points. Compare these measurements to the manufacturer’s minimum thickness specification. If any measurement is at or below the minimum, the rotor must be replaced.
- Warping Check: A dial indicator is used to measure runout (how much the rotor wobbles). Excessive runout indicates warping and is a primary reason for turning.
Step 2: Mounting the Rotor on the Brake Lathe
This is where the difference for drilled and slotted rotors becomes apparent. The brake lathe needs to securely grip the rotor.
- Adapters and Fixtures: Special adapters or fixtures might be needed to accommodate the rotor’s design, ensuring it’s held firmly and centered without damaging the slots or holes.
- Balancing: Some advanced lathes have features to help balance the rotor during the machining process, which is particularly important for high-performance rotors that spin at high speeds.
Step 3: Machining the Rotor Surface
Once securely mounted, the cutting tool on the lathe begins to shave off a thin layer of material from the rotor face.
- Cutting Speed and Feed Rate: These settings are critical. They need to be adjusted based on the rotor material and design. Too aggressive a cut can damage the rotor or the cutting tool.
- Dealing with Holes and Slots: The lathe’s cutting head must pass smoothly over the drilled holes and slots. Some lathes have specific settings or tooling to manage these features, ensuring a clean finish without “chatter” or gouges. The goal is to create a perfectly flat surface, and the cutter needs to transition smoothly across the openings.
- Finishing Pass: A final, light pass is often made to achieve the desired surface finish (often a specific cross-hatch pattern) that helps new brake pads bed in properly.
Step 4: Final Inspection and Cleaning
After machining:
- Re-measure Thickness: Double-check that the rotor is still within the acceptable thickness range.
- Cleanliness: Thoroughly clean the rotor to remove any machining debris, oil, or grease. Any residue can negatively impact braking performance and cause premature wear.
Tools You’ll Need (If You’re Doing it Yourself or Supervising)
While turning rotors is often a professional service, understanding the tools involved is empowering. If you were to perform this yourself or discuss it with a mechanic, here’s what’s typically involved:
| Tool | Purpose | Notes for Drilled/Slotted Rotors |
|---|---|---|
| Brake Lathe | Resurfaces rotor by rotating it against a cutting tool. | Requires appropriate adapters/fixtures for secure mounting. |
| Micrometer | Measures rotor thickness accurately. | Essential for checking against minimum thickness specs. |
| Dial Indicator | Measures rotor runout (warping). | Helps determine if turning is necessary and possible. |
| Brake Cleaner | Cleans rotors and parts. | Crucial for removing debris after machining. |
| Safety Glasses | Protects eyes from debris. | Always wear when working with machinery. |
| Gloves | Protects hands. | Keeps hands clean and offers some protection. |
| Torque Wrench | Ensures lug nuts are tightened to spec. | Important for proper wheel reinstallation. |
Pros and Cons of Turning Drilled and Slotted Rotors
Like any automotive service, there are advantages and disadvantages to consider:
Pros:
- Cost Savings: Typically less expensive than purchasing new performance rotors.
- Restores Performance: Can bring back a smooth braking feel and improve stopping power by providing a fresh surface for pads.
- Extends Rotor Life: Allows you to get more use out of your existing rotors, delaying the need for replacement.
- Maintains Aesthetics: Keeps the look of your drilled and slotted rotors intact.
Cons:
- Minimum Thickness Limitation: If rotors are already thin, they cannot be safely turned.
- Potential for Reduced Material: Each turning removes material, eventually leading to a rotor that’s too thin.
- Risk of Damage: Improper machining can damage the rotor, especially around the holes and slots, potentially weakening it.
- Not Always Cost-Effective: If rotors are severely damaged or very close to minimum thickness, replacement might be the only safe and practical option.
- Requires Specialized Equipment: Most DIYers don’t have access to a professional brake lathe.
When Should You Replace Instead of Turn?
While turning is an option, sometimes replacement is the better, safer choice. Consider replacing your drilled and slotted rotors if:
- Rotors are below minimum thickness: This is non-negotiable. Safety first!
- Rotors have cracks: Any cracks, especially near the holes, compromise the rotor’s structural integrity and make it unsafe.
- Rotors are severely scored or grooved: If the damage is too deep, you’ll exceed the minimum thickness trying to resurface them.
- Rotors show signs of extreme heat damage: Bluing or heat spots can indicate material changes that affect braking performance and longevity.
- You want to upgrade: If you’re looking for even better performance, replacing with a different type of rotor or a higher-quality version of your current setup might be ideal.
A good rule of thumb is to consult with a qualified mechanic if you’re unsure. They can properly assess the condition of your rotors and advise on the best course of action.
The Importance of Proper Brake Pad Bedding
After turning your rotors (or installing new ones), proper brake pad bedding is crucial. This process transfers a thin, even layer of friction material from the brake pads onto the rotor surface, creating optimal contact for consistent braking. Manufacturers have specific procedures, but generally, it involves a series of moderate stops from increasing speeds, followed by a cool-down period without heavy braking.
For more details on the importance of brake pad bedding, you can refer to resources like Federal-Mogul Motorparts, a leading supplier of automotive components, which often provides technical guides for their products.
Expert Opinions on Drilled vs. Slotted vs. Blank Rotors
The automotive industry widely discusses the merits of different rotor types. For instance, organizations like the Specialty Equipment Market Association (SEMA) often publish technical guides and research on vehicle components, including braking systems. Generally, while blank rotors are the most common and easiest to resurface, drilled and slotted rotors offer distinct advantages in heat dissipation and performance under aggressive driving conditions. The consensus is that if rotors are within thickness specifications, they can be resurfaced, but the effectiveness and longevity depend heavily on the quality of the original rotor and the precision of the machining.
Frequently Asked Questions (FAQ)
Frequently Asked Questions
Can any brake shop turn drilled and slotted rotors?
Most reputable brake shops with professional brake lathes are equipped to handle drilled and slotted rotors. However, it’s always a good idea to confirm with the shop that they have experience with performance rotors and the correct tooling to ensure a safe and effective machining process.
What is the minimum thickness for a drilled and slotted rotor?
The minimum thickness specification varies significantly by vehicle make, model, and the specific rotor manufacturer. This crucial measurement is usually stamped on the rotor’s hub or edge. Always refer to the manufacturer’s specifications or consult a professional mechanic to determine the correct minimum thickness for your rotors.
How much material can be removed when turning a rotor?
Typically, only a very thin layer of material, usually between 0.020 to 0.060 inches (0.5 to 1.5 mm), is removed during a standard resurfacing. The exact amount depends on the original thickness and the severity of the rotor’s condition. The primary goal is to achieve a smooth, flat surface without compromising the rotor’s structural integrity.
Will turning drilled and slotted rotors affect their performance benefits?
Turning rotors removes a small amount of material, which can slightly reduce the rotor’s mass and thermal capacity. However, for most street-driven vehicles, this effect is negligible. The primary benefit of turning is restoring a smooth braking surface, which is essential for consistent performance. The holes and slots will remain, continuing to offer their intended benefits, provided the rotor remains within safe thickness limits.
Is it better to turn or replace drilled and slotted rotors?
It depends on the condition and remaining thickness of your rotors. If your rotors are relatively new, still thick, and only have minor surface imperfections like glazing or light warping, turning can be a cost-effective solution. However, if the rotors are worn thin, have deep grooves, cracks, or significant warping, replacement is the safer and more appropriate option. Always prioritize safety and consult with a qualified mechanic.
What happens if the brake lathe cuts into the drilled holes or slots?
A properly calibrated brake lathe with the correct settings will ensure the cutting tool smoothly transitions over the drilled holes and slots. If the lathe is set too aggressively or the operator is inexperienced, it could potentially create deeper grooves or damage the edges of the holes/slots. This can weaken the rotor and compromise its performance and safety. This is why using a professional shop with expertise in turning performance rotors is highly recommended.
Are there any specific types of drilled/slotted rotors that absolutely cannot be turned?
While most standard drilled and slotted rotors can be turned, some highly specialized or extremely lightweight performance rotors might have designs or material compositions that make them unsuitable for traditional resurfacing. If you have very high-performance or custom rotors, it’s best to consult the manufacturer’s recommendations or a specialist in high-performance braking systems.
Whether you’re a seasoned DIY mechanic or just starting to explore car maintenance, understanding the nuances of components like drilled and slotted rotors is key. You’ve learned that turning these performance rotors is often possible, but it requires careful attention to thickness, condition, and the right equipment. By following best practices and knowing when to call in the professionals, you can ensure your braking system is safe, effective, and keeps you confidently on the road.