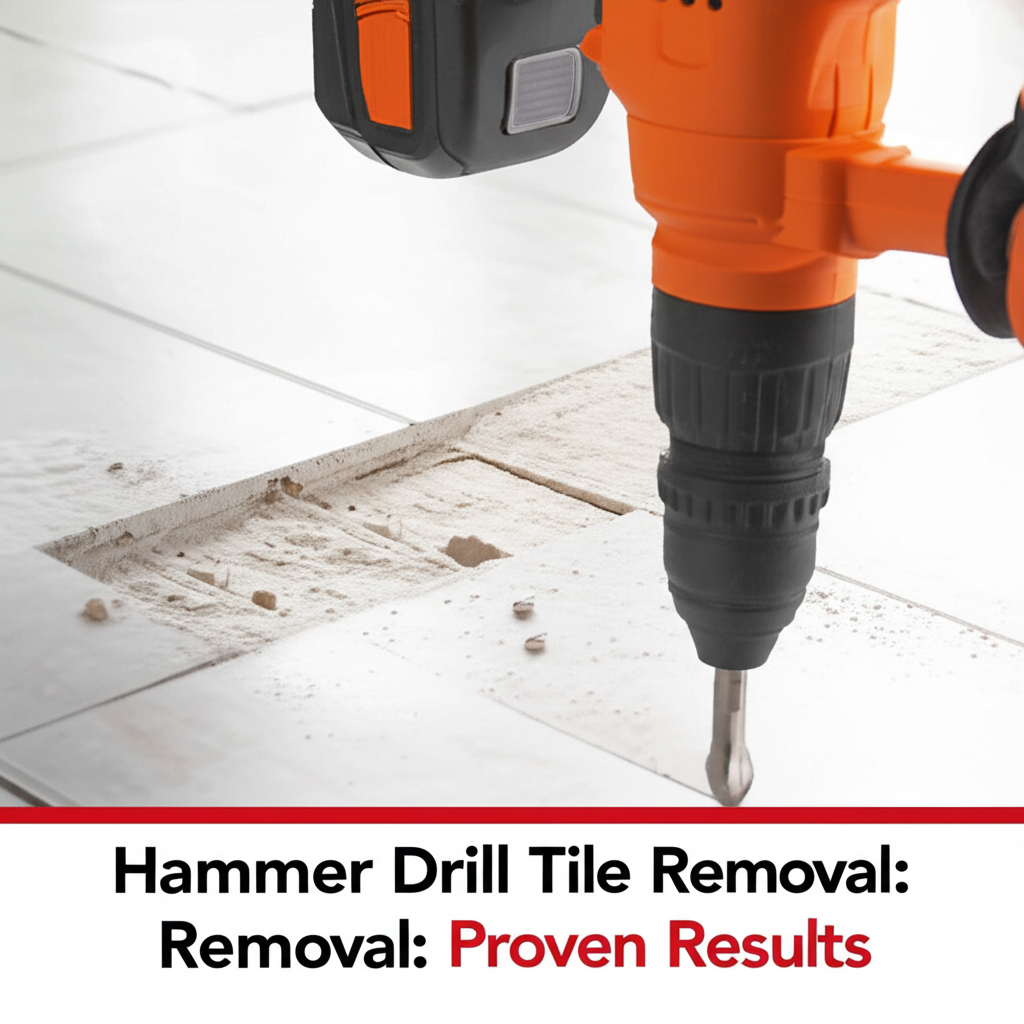
Yes, a hammer drill can effectively remove tile, especially when using the right attachments and techniques. It’s a powerful tool for tackling stubborn flooring, making DIY tile removal more manageable and efficient for homeowners and mechanics alike.
Must-Have Tools in Your House If You Work Regularly


Can a Hammer Drill Remove Tile? Proven Results for DIYers!
Tired of looking at that old, cracked tile in your garage, bathroom, or kitchen? Tile removal can feel like a daunting task, and many DIY enthusiasts wonder if their trusty hammer drill is up to the job. The good news is, with the right approach, a hammer drill can be a powerful ally in your renovation project. It’s a common question for anyone looking to update their space, and the answer is a resounding yes! We’ll walk you through how to safely and effectively use your hammer drill to get those tiles off the floor.
Understanding Hammer Drills and Tile Removal
Before we dive into the “how,” let’s quickly touch on the “why” and “what.” A hammer drill is a power tool that combines a rotating action with a percussive hammering motion. This dual action is what makes it so effective for breaking apart tough materials like concrete and, you guessed it, tile. While a standard drill simply spins, a hammer drill adds that extra punch needed to shatter and dislodge stubborn flooring.
When it comes to removing tile, the key is to use the hammer drill in conjunction with a suitable chisel bit. These bits are specifically designed to break up hard materials. Think of it like using a jackhammer on a miniature scale – the rapid impacts help to fracture the tile and the adhesive holding it in place.
What You’ll Need: Essential Tools and Safety Gear
Getting ready for tile removal is half the battle. Having the right tools and prioritizing safety will make the job smoother and prevent injuries. Here’s a breakdown of what you’ll want to have on hand:
Essential Tools for Hammer Drill Tile Removal
- Hammer Drill: Of course! Ensure it has a hammer function.
- Chisel Bits: A set of various chisel bits is crucial. Common types include:
- Flat Chisel Bit: Great for general scraping and lifting.
- Point Chisel Bit: Useful for creating initial cracks or breaking up smaller sections.
- Scraper Bit (or Tile Chisel): Wider and flatter, ideal for getting under the edge of tiles.
- Safety Glasses or Goggles: Absolutely non-negotiable. You’ll be dealing with flying debris.
- Work Gloves: Protect your hands from blisters and sharp edges.
- Dust Mask or Respirator: Tile dust can be harmful to inhale.
- Hearing Protection: Hammer drills can be loud.
- Sturdy Footwear: Protect your feet from dropped tools or debris.
- Putty Knife or Scraper: For initial prying and cleaning up adhesive.
- Broom and Dustpan or Vacuum: For cleanup as you go.
- Bucket or Debris Container: To collect the removed tile pieces.
- Optional: Pry Bar: For stubborn tiles that need extra leverage.
Safety First: A Quick Checklist
Your well-being is paramount. Before you even plug in your hammer drill, take a moment to ensure you’re protected:
- Always wear safety glasses.
- Use hearing protection, especially for extended periods.
- Wear sturdy gloves and closed-toe shoes.
- Ensure good ventilation in the work area.
- Familiarize yourself with your hammer drill’s settings (drill only vs. hammer drill mode).
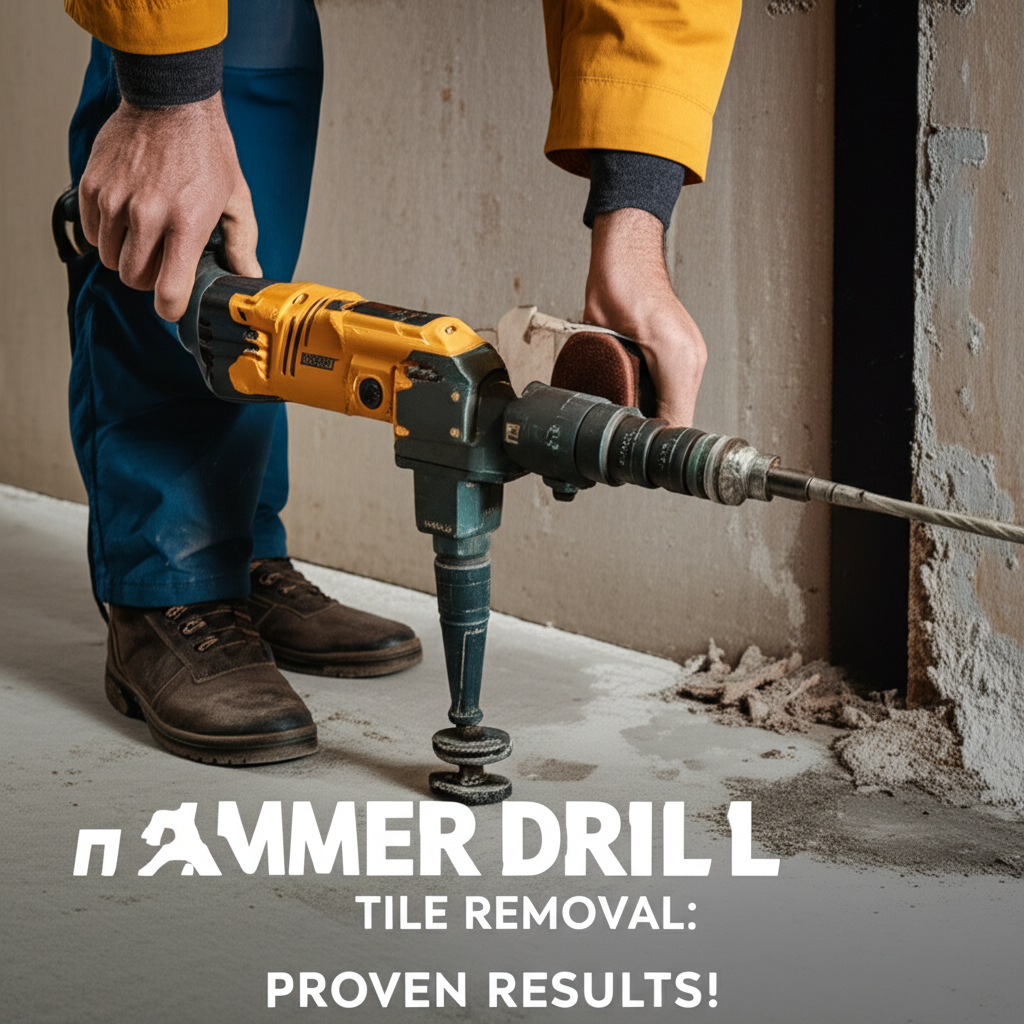
Step-by-Step Guide: Hammer Drill Tile Removal in Action
Now for the main event! Follow these steps carefully for the best results.
Step 1: Prepare Your Work Area
Clear the room of furniture and any other obstructions. Cover adjacent areas with drop cloths to protect them from dust. If you’re working in a bathroom or kitchen, consider covering sinks and countertops.
Step 2: Identify the Tile Type and Grout
Different tiles and grout types might require slightly different approaches. Ceramic and porcelain tiles are common and generally respond well to hammer drill removal. The type of grout (cementitious vs. epoxy) can also affect how easily the tiles lift.
Step 3: Switch Your Hammer Drill to Hammer Mode
This is a critical step. Most hammer drills have a selector switch that allows you to choose between standard drilling, hammer drilling, and sometimes a rotary-only chisel function. Ensure your drill is set to the hammer drill mode. If your drill has a separate chisel function, that might be even more effective for this task.
Step 4: Attach the Appropriate Chisel Bit
Select a chisel bit, often a flat or scraper bit, and insert it securely into the chuck of your hammer drill. Make sure it’s properly tightened according to your drill’s manual. A loose bit can be dangerous.
Step 5: Start Breaking Up the Grout (Optional but Recommended)
For easier tile removal, it’s often beneficial to start by breaking up the grout lines around the tiles. Use a smaller chisel bit or even a manual grout saw to create a starting point. This can help loosen the tiles and make the hammer drill’s job easier.
Step 6: Begin the Removal Process
Hold the hammer drill firmly with both hands. Place the tip of the chisel bit at an angle against the grout line or the edge of a tile. Start with moderate pressure. The hammer action will begin to fracture the tile and the adhesive.
Key Technique: Aim to get the chisel bit under the edge of the tile if possible. This provides leverage and helps lift the tile away from the subfloor. You may need to work the bit back and forth to find a good entry point.
Work in small sections. As you break up a tile, use a putty knife or scraper to pry up the loosened pieces. Clear away the debris as you go. This prevents tripping hazards and makes it easier to see what you’re doing.
Step 7: Adjust Pressure and Angle as Needed
If a tile isn’t budging, don’t force it aggressively. Try adjusting the angle of the chisel bit or switching to a different type of chisel bit. Sometimes, a slightly different approach can make all the difference. For very stubborn tiles, a point chisel bit might be needed to create an initial crack.
Tip: For very hard tiles, especially porcelain, you might find it more effective to aim for the grout lines rather than directly at the tile face. This helps break the bond without shattering the tile into excessively small, sharp pieces.
Step 8: Clean Up the Subfloor
Once all the tiles are removed, you’ll likely have residual adhesive and grout on the subfloor. Use your scraper, putty knife, or even a wire brush attachment on your drill (if you have one) to remove as much of this as possible. A clean subfloor is essential for installing new flooring.
Hammer Drill vs. Other Tile Removal Methods
While a hammer drill is a fantastic tool for tile removal, it’s helpful to understand how it compares to other methods:
| Method | Pros | Cons | Best For |
|---|---|---|---|
| Hammer Drill with Chisel Bit | Fast, powerful, effective for most tile types, relatively easy to control. | Can be noisy, creates dust, requires power, can damage subfloor if not careful. | Ceramic, porcelain, natural stone tiles; moderate to large areas. |
| Manual Scrapers/Pry Bars | Quiet, precise, less dust, no power needed, good for delicate areas. | Slow, labor-intensive, can be ineffective on strong adhesives or very hard tiles. | Small areas, delicate subfloors, very thin tiles, or when noise is a concern. |
| Rotary Hammer (Heavy Duty) | Extremely powerful, very fast, ideal for thick tiles and tough adhesives. | Heavy, expensive, overkill for most DIY projects, significant dust and vibration. | Thick natural stone, industrial-grade tiles, large commercial spaces. |
| Angle Grinder with Diamond Blade | Can cut tiles into smaller, manageable pieces, good for precise cuts. | Extremely dusty, requires significant safety precautions, not ideal for lifting. | Cutting tiles to fit around obstacles or for specific demolition needs. |
For most DIY homeowners, the hammer drill with appropriate chisel bits strikes an excellent balance between efficiency, cost, and ease of use. It’s a versatile tool that many already own or can easily acquire.
Tips for Success and Troubleshooting
Even with the right tools, a few tips can make your tile removal project even smoother:
- Start Small: If you’re hesitant, begin with a small, less visible area to get a feel for the tool and technique.
- Patience is Key: Don’t rush the process. Working methodically will yield better results and fewer mistakes.
- Manage Dust: Keep a shop vacuum running nearby to immediately suck up dust and debris as it’s created. This significantly reduces airborne dust.
- Subfloor Concerns: Be mindful of your subfloor. If it’s a delicate material like plywood, use less force and try to get under the tile rather than hammering directly down onto the subfloor. For concrete subfloors, you have more leeway.
- Stubborn Adhesive: Sometimes, the adhesive is the real problem. If the tile breaks but the adhesive remains firmly stuck, you might need a specialized adhesive remover or a different scraping tool.
- Battery Power: If you’re using a cordless hammer drill, ensure you have extra charged batteries on hand, as tile removal can drain them quickly.
Frequently Asked Questions About Hammer Drill Tile Removal
Frequently Asked Questions
Can I use a regular drill to remove tile?
No, a regular drill typically lacks the percussive hammering action needed to effectively break apart tiles and their adhesive. You need a hammer drill or a rotary hammer for this task. A standard drill will just spin and won’t provide the necessary impact.
What type of chisel bit is best for tile removal?
A flat chisel bit or a scraper bit is generally best for tile removal. These bits are designed to get under the edge of the tile and provide leverage for lifting. A point chisel bit can be useful for starting a break in a particularly tough tile.
Will using a hammer drill damage my subfloor?
It’s possible, especially if you’re not careful. If you apply too much downward force or repeatedly hit the subfloor directly without a tile piece to break, you could chip or gouge it. Always try to get the chisel bit under the tile and work at an angle. Understanding your subfloor material (concrete, wood, etc.) will help you gauge the appropriate force.
How much dust does hammer drill tile removal create?
It creates a significant amount of dust. This is why wearing a dust mask or respirator and having good ventilation or a vacuum running nearby is essential. The dust comes from the tile itself and the grout.
Is hammer drill tile removal suitable for all types of tile?
It’s suitable for most common tile types like ceramic, porcelain, and even many natural stones. However, very thick or specialized industrial tiles might require more heavy-duty equipment like a rotary hammer. For standard home renovations, a hammer drill is usually sufficient.
How long does it take to remove tile with a hammer drill?
The time can vary greatly depending on the size of the area, the type of tile, the strength of the adhesive, and your experience level. For a small bathroom, it might take a few hours. A larger area could take a full day or more. Working methodically and clearing debris as you go will generally speed up the process.
Can I use a hammer drill for removing adhesive residue?
While a hammer drill with a chisel bit can help break up some hardened adhesive, it’s not the primary tool for adhesive removal. Once the tiles are up, you’ll likely need scrapers, putty knives, or even specialized adhesive removers to clean the subfloor thoroughly. Some hammer drills have specific scraper attachments that can help.
Conclusion: Your Hammer Drill is Ready for the Challenge
So, can a hammer drill remove tile? Absolutely! With the correct chisel bits, proper safety precautions, and a methodical approach, your hammer drill can be an incredibly effective tool for tackling tile removal. It’s a satisfying project that can transform your space, and knowing you have the right equipment, like a capable hammer drill, makes all the difference. Whether you’re a seasoned DIYer or just starting out, this guide should give you the confidence to tackle that old tile and pave the way for your next project.