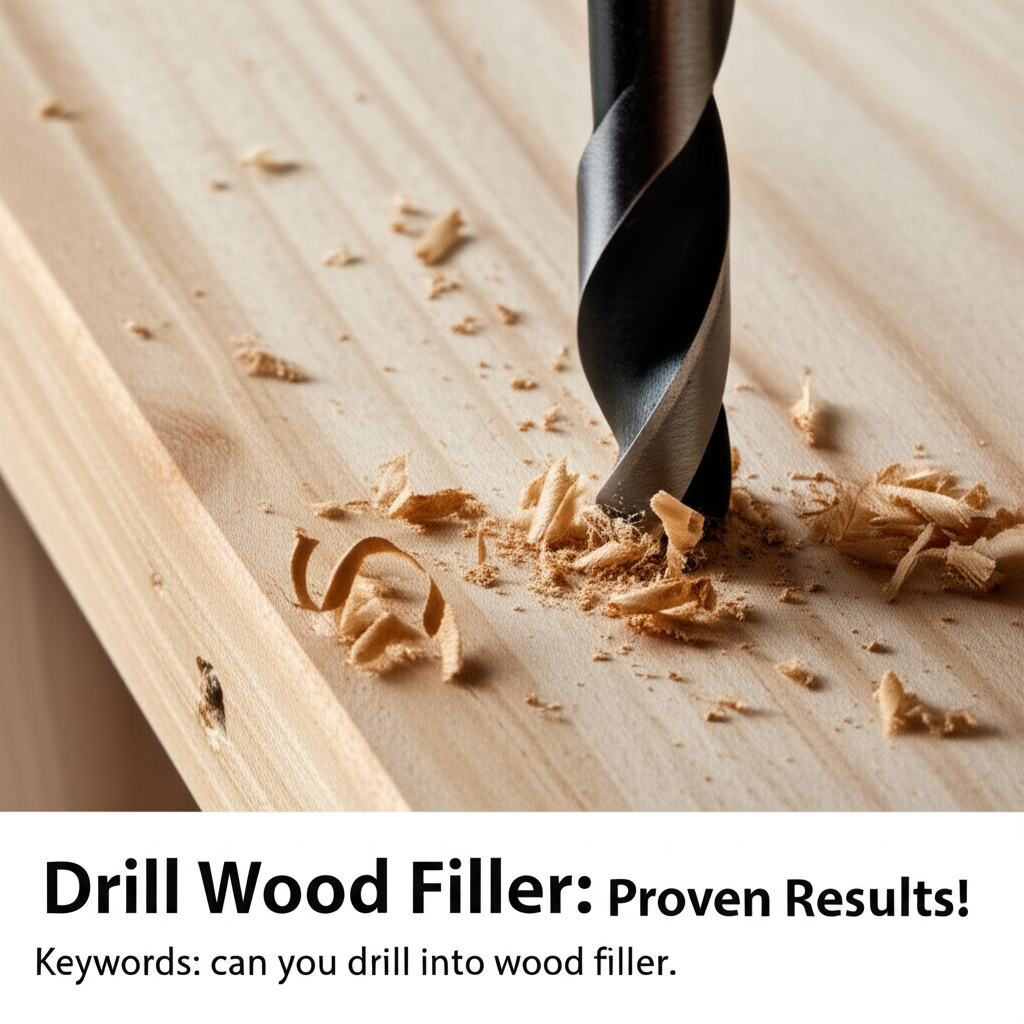
Yes, you can drill into wood filler, and with the right techniques and tools, you can achieve strong, reliable results for your projects. This guide will show you how to successfully drill into wood filler for secure repairs and finishes.
Must-Have Tools in Your House If You Work Regularly


Ever finished a repair, feeling pretty good about how smooth everything looks, only to realize you need to drill a new hole? Maybe you’re hanging a shelf, attaching a bracket, or securing a piece of hardware to a wood surface that’s seen better days. You’ve filled those imperfections with wood filler, and now the big question looms: can you actually drill into it without turning your careful work into a crumbly mess? It’s a common concern, especially if you’re aiming for a professional-looking finish. Don’t worry, we’ve got your back. This article will walk you through the best ways to drill into wood filler, ensuring your repairs are as sturdy as they are seamless. Get ready to discover the proven results for yourself!
Understanding Wood Filler and Drilling
Wood filler is a fantastic material for mending cracks, holes, and imperfections in wood. It comes in various forms, from water-based to solvent-based, and even epoxy putties. Each type has its own characteristics regarding drying time, shrinkage, and strength. When it comes to drilling into it, the key is understanding that not all wood fillers are created equal, and neither are all drilling methods. The goal is to create a clean, stable hole that can hold screws, dowels, or other fasteners without crumbling or weakening the repair. Successfully drilling into wood filler means choosing the right filler for the job, allowing it to cure properly, and using the correct drill bits and techniques.
Types of Wood Filler and Their Drillability
The type of wood filler you use significantly impacts how well it drills. Generally, fillers that harden to a dense, solid state are more drillable than those that remain somewhat flexible or powdery.
Water-Based Wood Fillers
These are common, easy to use, and clean up with water. However, they tend to shrink as they dry, and some can remain slightly softer than other types. While you can drill into them, it’s often best to let them cure fully and use a sharp bit at a moderate speed to avoid chipping.
Solvent-Based Wood Fillers
These are typically stronger and shrink less than water-based fillers. They often harden to a more robust state, making them generally more drillable. Again, proper curing is crucial for the best results.
Epoxy Wood Fillers and Two-Part Putties
These are usually the strongest and most durable options. They cure into a very hard, solid material that can often be drilled, tapped, and even machined like solid wood. They are ideal for structural repairs where drilling is anticipated.
The Curing Process: Patience is Key
This is perhaps the most critical factor. Wood filler needs time to cure and harden completely. Attempting to drill into filler that is still wet or only partially cured is a recipe for disaster. It will likely crumble, smear, and the hole will be weak. Always refer to the manufacturer’s instructions for drying and curing times, as these can vary significantly based on the product, humidity, and temperature.
A good rule of thumb is to wait at least 24 hours, and sometimes longer for thicker applications or in humid conditions, before drilling. You can often test the hardness by gently pressing a fingernail or a sharp object into an inconspicuous area. If it dents or feels soft, it’s not ready.
How to Drill Into Wood Filler: A Step-by-Step Guide
Once your wood filler has fully cured, you’re ready to drill. Follow these steps for the best outcome:
- Gather Your Tools: You’ll need your cured wood filler, a drill, appropriate drill bits, a pencil or marker, and potentially some masking tape.
- Mark Your Spot: Use a pencil or marker to lightly mark the exact spot where you want to drill.
- Apply Masking Tape (Optional but Recommended): For water-based or slightly softer fillers, applying a small piece of painter’s tape over the marked spot can help prevent chipping and provide a cleaner entry point for the drill bit.
- Select the Right Drill Bit:
- For general screw driving: A standard twist drill bit is usually sufficient. Ensure it’s sharp.
- For precision or if the filler is very hard: A brad-point drill bit can help start the hole cleanly and prevent wandering.
- For tapping threads: If you plan to tap threads into the filler (common with epoxy fillers), you’ll need a specific tap drill size recommended by the tap manufacturer.
- Set Your Drill:
- Speed: Use a moderate speed. High speeds can generate heat and cause the filler to melt or crumble. A lower speed offers more control.
- Torque (if using a drill/driver): If your drill has a clutch, set it to a low torque setting initially to avoid stripping or over-driving.
- Mode: Ensure your drill is set to “drill” mode, not “hammer” or “impact” mode, as these can fracture the filler.
- Drill Slowly and Steadily:
- Start the drill bit on your marked spot.
- Apply gentle, consistent pressure. Let the drill bit do the work.
- As the bit enters the filler, you might feel a slight change in resistance.
- If you’re drilling through a thick application of filler, consider drilling partway, backing the bit out to clear any dust or debris, and then continuing. This helps prevent clogging and overheating.
- Clear Debris: Once the hole is drilled to the desired depth, slowly withdraw the drill bit. You can use a blast of compressed air or a small brush to clear any dust from the hole.
- Inspect the Hole: Check the hole for any signs of crumbling or weakness. If it looks good, you’re ready to insert your screw, dowel, or fastener.
Choosing the Right Drill Bit
The type of drill bit you use can make a significant difference:
| Drill Bit Type | Best For | Considerations |
|---|---|---|
| Standard Twist Drill Bit | General-purpose drilling into most cured fillers. | Ensure it’s sharp for clean entry. |
| Brad-Point Drill Bit | Starting clean holes, preventing bit wander, harder fillers. | The center spur helps locate the bit accurately. |
| Forstner Bit | Creating flat-bottomed holes or counterbores. | Can be effective for larger diameter holes if carefully controlled. |
| Step Drill Bit | Creating holes of varying diameters smoothly. | Good for thin to medium thickness fillers. |
Using a sharp bit is paramount. A dull bit will snag, tear, and create a rough hole, regardless of the filler type.
Drill Settings: Speed and Torque
Setting your drill correctly is just as important as choosing the right bit.
- Speed: Lower to medium speeds (e.g., 400-800 RPM for a cordless drill) provide better control and reduce the risk of overheating and melting or chipping the filler.
- Torque: If your drill has a torque clutch, start with the lowest setting. You want to drive a screw or fastener, not ream out the hole. You can gradually increase the torque if needed, but always be mindful of the filler’s integrity.
Never use the hammer drill function when drilling into wood filler. This is designed for masonry and will likely shatter the cured filler.
Achieving Proven Results: Tips for Success
To ensure your drilling into wood filler yields strong, reliable results, keep these tips in mind:
- Always test on a scrap piece: If possible, practice drilling into a piece of the same cured wood filler before tackling your project. This helps you find the right settings and technique.
- Drill pilot holes for screws: Even if you’re drilling directly into filler, a pilot hole smaller than the screw’s shank can make driving the screw easier and prevent splitting or cracking.
- Don’t force it: If you encounter significant resistance, stop. Check your drill bit, drill settings, or the curing of the filler. Forcing the bit can damage the repair.
- Consider the application: If you need to hang a heavy object, ensure the filler used was strong and durable (like an epoxy filler). For light decorative items, most fillers will suffice.
- Post-drilling treatment: After drilling and inserting your fastener, you can often apply a little more wood filler around the fastener head if you want a perfectly smooth, seamless finish, and then sand and paint or stain.
When to Avoid Drilling into Wood Filler
While drilling into wood filler is often possible, there are situations where it’s best avoided or requires extra caution:
- Very thin applications: If the filler layer is extremely thin, drilling might not provide enough material to hold a fastener securely.
- Certain flexible fillers: Some fillers are designed to remain slightly flexible, making them unsuitable for drilling and fastening.
- If structural integrity is paramount: For critical structural repairs where the filler is relied upon for load-bearing strength, it’s often better to repair or replace the damaged wood itself rather than relying on drilled filler. Consult with a professional if unsure.
- If the filler is not fully cured: As mentioned, this is the most common reason for failure.
For more information on choosing and using wood fillers effectively, the WoodworkingTalk forum offers a wealth of community knowledge and tips from experienced woodworkers.
Frequently Asked Questions
Can I drill a screw directly into wood filler?
Yes, you generally can drill a screw directly into fully cured wood filler. However, it’s highly recommended to drill a pilot hole first, especially for larger screws. The pilot hole should be slightly smaller than the screw’s diameter. This helps the screw drive in more easily and prevents the filler from cracking or crumbling around the threads.
What kind of drill bit is best for wood filler?
A sharp standard twist drill bit or a brad-point drill bit is usually best. A brad-point bit is particularly good for starting a clean hole without the bit wandering. Ensure the bit is sharp for the cleanest cut and to prevent snagging or excessive heat buildup.
How fast should I drill into wood filler?
It’s best to drill at a slow to moderate speed. High speeds can generate heat, which can melt or soften some types of filler, and also increase the risk of the filler crumbling or chipping. A lower RPM setting on your drill provides more control.
What happens if I drill into wood filler that isn’t fully cured?
If you drill into wood filler that hasn’t fully cured, it will likely crumble, smear, and create a weak, misshapen hole. The repair might also shrink or crack further after drilling. Always ensure the filler is completely dry and hardened according to the manufacturer’s instructions.
Can I use a hammer drill to drill into wood filler?
No, you should never use a hammer drill or impact setting when drilling into wood filler. These settings are designed for masonry and will almost certainly shatter or fracture the cured filler, ruining your repair. Stick to the standard drill function.
Will drilling into wood filler weaken the repair?
Properly drilling into fully cured wood filler, especially with a pilot hole, should not significantly weaken the repair for most common applications. However, if you are drilling multiple large holes or if the filler was applied for structural support, it might reduce its load-bearing capacity. Using a strong, two-part epoxy filler for such applications is advisable.
Can I tap threads into wood filler?
With certain types of wood filler, particularly two-part epoxy fillers, it is possible to tap threads into the cured material. These fillers harden to a very dense and durable state. For other types of filler, it’s generally not recommended as the threads may not hold securely.
By following these guidelines, you can confidently drill into your wood filler repairs, achieving the professional and durable results you’re looking for. Happy drilling!