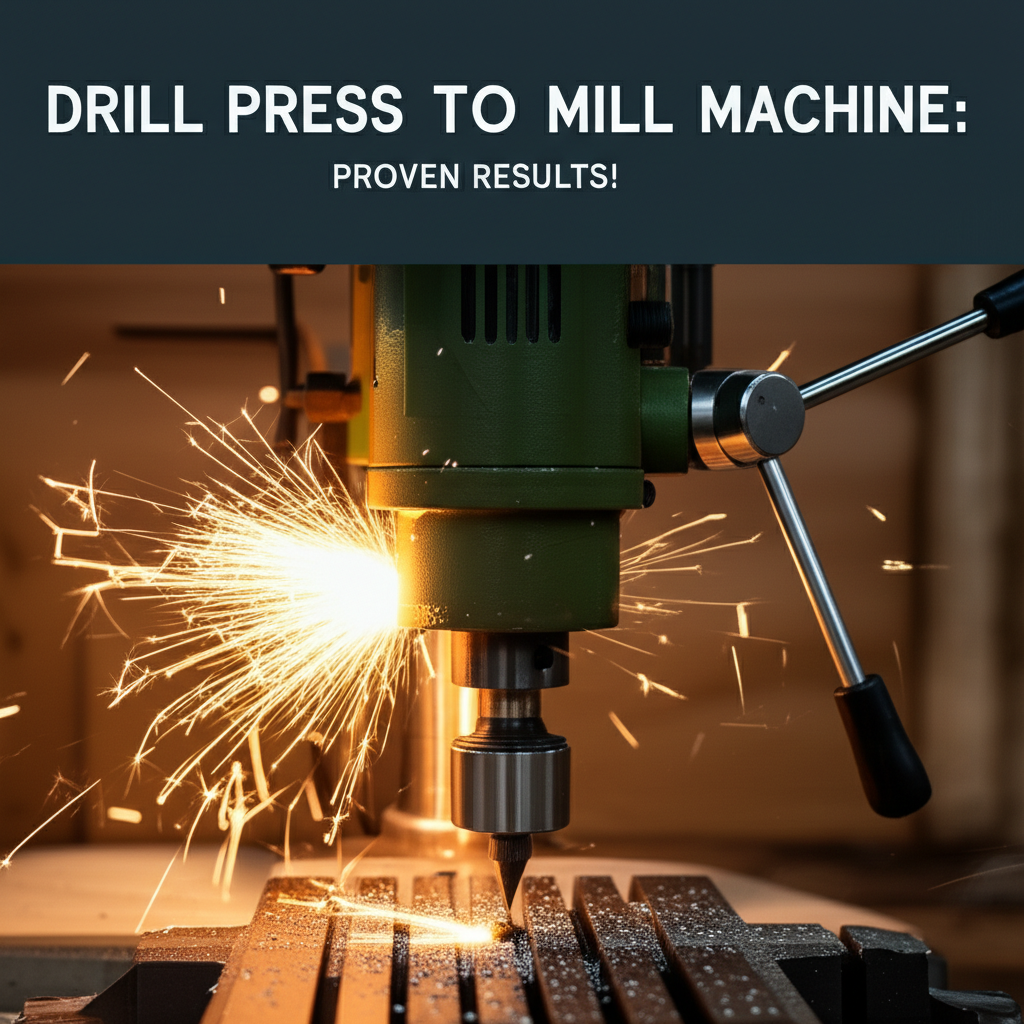
Yes, with the right accessories and techniques, you can effectively adapt a drill press to function as a milling machine for many DIY projects and light-duty tasks. While not a true milling machine, this conversion can achieve surprisingly precise results, saving you significant cost and workshop space.
Ever found yourself wishing your trusty drill press could do more? Maybe you need to create precise slots, flatten a surface, or cut accurate grooves, but a full milling machine is out of reach or just too much for your current project. It’s a common thought for DIYers and mechanics alike – wanting more precision from the tools we already have. The good news is, you might not need a whole new machine! We’re going to explore how you can transform your drill press into a surprisingly capable milling machine, opening up a world of new possibilities for your workshop. Get ready to unlock a new level of precision without breaking the bank.
Can a Drill Press Be Used as a Milling Machine? The Short Answer
Absolutely! While a drill press isn’t inherently a milling machine, it can be adapted to perform many milling operations with the right attachments and careful technique. Think of it as giving your drill press a powerful upgrade. It’s a fantastic way for hobbyists, mechanics, and DIY enthusiasts to tackle precision tasks without investing in a dedicated, often expensive, milling machine. The key lies in understanding the limitations and using the correct accessories to achieve the desired results.
Understanding the Difference: Drill Press vs. Mill Machine
Before we dive into the “how,” let’s quickly touch on why this conversion is even possible and what the fundamental differences are. A drill press is primarily designed for drilling holes. Its spindle moves vertically, pushing a rotating drill bit into the workpiece. A mill machine, on the other hand, is built for much more complex material removal. It typically has a spindle that can move in multiple directions (X, Y, and Z axes) and a robust table that also moves in these directions, allowing for precise cutting, shaping, and slotting of metal, wood, and plastics. The rigidity and control offered by a true mill are far superior for heavy-duty metalworking.
However, for lighter tasks, the drill press can bridge this gap. The key adaptations focus on providing the necessary side-to-side (X-Y) movement and better control over the workpiece, which the drill press’s vertical-only spindle movement lacks.
Essential Attachments for Your Drill Press Milling Conversion
To turn your drill press into a makeshift mill, you’ll need a few key accessories. These aren’t just helpful; they’re essential for achieving any kind of precision milling. Without them, you’re essentially just drilling with a different bit.
1. The Cross-Slide Vise (or Milling Vise)
This is arguably the most crucial attachment. A standard drill press vise holds the workpiece stationary. A cross-slide vise, however, has two sets of handwheel-controlled slides, typically moving along the X and Y axes. This allows you to precisely position the workpiece relative to the rotating cutting tool (like an end mill). It’s the backbone of your milling conversion.
- Function: Provides controlled movement of the workpiece in two horizontal directions (left/right and forward/back).
- Features to look for: Sturdy cast iron construction, graduated scales for precise measurements, locking mechanisms for each axis, and a good range of travel.
- Types: Single-axis (moves in one direction) and dual-axis (moves in two directions). For milling, a dual-axis is highly recommended.
2. End Mills
You can’t mill effectively with a standard twist drill bit. You need specialized cutting tools called end mills. These bits are designed to cut on their sides as well as their ends, allowing you to create slots, dados, and flat surfaces.
- Types:
- Flat-bottomed end mills: For creating flat surfaces and slots.
- Ball-end end mills: For creating rounded slots or contours.
- Corner-rounding end mills: For creating fillets in corners.
- Material: High-speed steel (HSS) is common for general use, while carbide end mills offer longer life and can cut harder materials faster, but are more brittle.
- Shank Diameter: Ensure the end mill shank fits your drill press chuck. Common sizes are 1/4″, 3/8″, 1/2″.
3. Drill Press Table with T-Slots (Optional but Highly Recommended)
While you can mount a cross-slide vise onto a standard drill press table, a table with built-in T-slots offers much more versatility. T-slots allow you to securely bolt down not just your vise, but also other jigs, fixtures, or even the workpiece directly.
- Benefit: Provides more secure mounting options and allows for fixturing that can handle lateral forces better than a simple vise clamp.
- Retrofitting: Some users create their own T-slotted tables or adapt existing ones.
4. Collet Chuck or R8 Spindle Adapter (For More Precision)
The standard drill press chuck ( Jacobs chuck) is designed for round shanks and can sometimes slip under the lateral forces of milling. For more secure tool holding and better concentricity, a collet chuck system is ideal. This involves a specific adapter that fits into your drill press spindle, and then uses collets to grip the end mill shank very tightly.
- Collet System: Typically uses a set of interchangeable collets (e.g., 1/4″, 3/8″, 1/2″) to grip various end mill shank sizes.
- R8 Spindle: High-end drill presses or conversions might use an R8 spindle, which is the standard on many Bridgeport milling machines, allowing direct use of R8 tooling.
Step-by-Step Guide: Milling with Your Drill Press
Now that you have the essential gear, let’s get to work. Remember, safety first! Always wear eye protection and be mindful of the forces involved.
Step 1: Secure Your Workpiece
Place your workpiece in the cross-slide vise. Ensure it’s held firmly. If you’re milling a larger or irregularly shaped item, you might need to use clamps and blocks to support it properly within the vise or directly on the table if it has T-slots.
Step 2: Mount the End Mill
Insert the appropriate end mill into your drill press chuck or collet system. Ensure it’s tightened securely. Double-check that the end mill is centered and runs true. A slight wobble can lead to poor finish and potentially damage the tool or workpiece.
Step 3: Set Your Zero Point and Depth
This is where precision comes in. You need to establish your starting point.
- X-Y Zero: Use the handwheels of your cross-slide vise to position the cutting edge of the end mill precisely over the edge or center of your desired cut on the workpiece.
- Z-Axis Zero: Lower the drill press quill until the cutting edge of the end mill just touches the surface of your workpiece. Lock the quill at this height if possible, or carefully note the position on the depth stop.
Step 4: Set the Cutting Depth
For milling, you generally take shallow cuts. This is crucial because a drill press is not as rigid as a dedicated mill. Trying to remove too much material at once can overload the machine, break the end mill, or cause the workpiece to shift.
- Light Passes: Start with a depth of cut typically between 0.010″ and 0.050″ (0.25mm to 1.25mm), depending on the material hardness and the end mill diameter. For softer materials like aluminum or wood, you can often go a bit deeper than for harder metals like steel.
- Use the Depth Stop: Use your drill press’s depth stop (if it has one) or carefully monitor the quill movement to control the Z-axis depth.
Step 5: Begin Milling
With the drill press set to a suitable RPM (often lower for milling than for drilling, especially with larger end mills), slowly lower the quill to engage the end mill with the workpiece to your set depth. Then, using the handwheels of the cross-slide vise, slowly move the workpiece laterally into the spinning end mill.
Important Considerations for Cutting Speed and Feed Rate:
Choosing the right RPM and feed rate is critical. Too fast, and you risk burning the tool or workpiece; too slow, and you won’t remove material efficiently, or you might “rub” the cutter, leading to a poor finish.
General Guidelines (These are starting points and will vary greatly):
| Material | HSS End Mill (SFM) | Carbide End Mill (SFM) | Drill Press RPM (Approx.) |
|---|---|---|---|
| Aluminum | 200-400 | 400-800 | Low to Medium |
| Mild Steel | 60-100 | 200-400 | Very Low to Low |
| Wood | 300-600 | 600-1200 | Medium to High |
| Plastic (ABS, Nylon) | 200-500 | 400-1000 | Medium |
SFM = Surface Feet per Minute. To calculate approximate RPM for your drill press: RPM = (SFM 3.82) / Diameter (in inches). Always consult tooling manufacturer recommendations.*
Feed Rate: This is how fast you move the workpiece. For drill press milling, you’ll be manually controlling this with the vise handwheels. Aim for a smooth, consistent feed. You should hear the cutting tool working, not screaming or chattering.
Step 6: Make the Cut
Slowly advance the workpiece using the cross-slide vise handwheel while the end mill is spinning. Maintain a consistent feed rate. If you’re cutting a slot, move the workpiece across the full width of the desired slot. If you’re facing a surface, move the workpiece until the entire surface has been traversed by the end mill.
Step 7: Retract and Repeat
Once you’ve completed a pass, retract the workpiece. Raise the quill or adjust the depth stop for the next pass. Repeat steps 5 and 6 until you reach your desired final depth. Take multiple shallow passes rather than one deep pass.
Step 8: Clean Up and Measure
After you’ve achieved the final depth, retract the workpiece. Turn off the drill press. Carefully remove the workpiece and inspect your results. Measure to ensure accuracy.
Proven Results: What Can You Actually Achieve?
The capabilities of a drill press converted for milling are impressive for its limitations. Here’s what you can realistically expect:
- Accurate Slotting: Create precise slots in metal or wood for keys, gears, or alignment pins.
- Surface Facing: Flatten uneven surfaces on metal plates, blocks, or parts.
- Creating Flat-Bottomed Holes: Drill a hole, then use a flat-bottomed end mill to precisely flatten the bottom of the hole.
- Engraving and Lettering: With very fine end mills and careful control, you can even do basic engraving.
- Milling Keyways: Essential for automotive or mechanical repairs where a shaft needs a keyway.
- Custom Part Fabrication: Make small, custom parts, brackets, or adapters where precision is key.
For example, a common task is milling a keyway into a pulley or shaft. A drill press setup can accurately create this groove, ensuring proper alignment and function. Another example is surfacing a mounting plate for electronics or custom brackets, ensuring a flat mating surface.
Table: Drill Press vs. Milling Machine Capabilities
To set realistic expectations, here’s a comparison:
| Feature | Drill Press Milling Conversion | Dedicated Mill Machine |
|---|---|---|
| Rigidity & Stability | Moderate; susceptible to chatter/vibration with heavy cuts. | High; designed for heavy cutting forces. |
| Axis of Movement | Primarily X-Y via vise; Z via quill. Limited by vise travel. | X, Y, and Z controlled by machine table and spindle, often with higher travel ranges. |
| Cutting Power | Limited by drill press motor and spindle strength. Best for light to medium cuts. | Much higher; can handle heavy cuts in hard materials. |
| Precision & Repeatability | Good for hobbyist/DIY; depends heavily on vise quality and operator skill. | Excellent; designed for high-precision manufacturing. |
| Tooling Options | Limited by chuck/collet system. | Wide range of spindle tapers (e.g., R8, CAT) and tooling. |
| Cost | Relatively low (cost of attachments). | Significantly higher (thousands to tens of thousands of dollars). |
| Typical Use Cases | Hobby projects, light metalworking, repairs, prototyping. | Production manufacturing, heavy machining, precision engineering. |
Tips for Success and Safety
Achieving good results requires more than just the right tools; it demands attention to detail and a focus on safety.
- Use Lubricant/Coolant: For metal cutting, especially steel, use a cutting fluid. This helps lubricate the cut, cool the tool and workpiece, and clear chips, leading to a better finish and longer tool life.
- Chip Evacuation: Regularly clear chips from the cutting area. Metal chips can get caught and recut, causing poor finish and potential tool breakage. Use a brush, not your hands!
- Slow and Steady Wins the Race: Don’t rush your cuts. Consistent, slow feed rates and shallow depths of cut are key to preventing damage and achieving accuracy.
- Check for Runout: Ensure your end mill is running true. Any wobble will result in an uneven cut.
- Secure Everything: Make sure the drill press itself is stable (bolted down if possible) and that the workpiece is firmly secured in the vise.
- Know Your Limits: Understand that a drill press conversion is not a substitute for a heavy-duty milling machine. Avoid attempting very hard metals or very deep/aggressive cuts.
- Practice on Scrap: Before working on your actual project piece, practice your milling technique on a similar scrap material.
- Read Tool Manufacturer Specs: Always refer to the recommended cutting speeds and feeds for your specific end mills and materials. Resources like those from the Metalworking World can provide valuable insights.
- Understand Material Properties: Different materials (aluminum, steel, brass, plastic, wood) have vastly different machining characteristics. Researching the material you’re working with is crucial.
For further reading on machining principles, the National Institute of Standards and Technology (NIST) offers various resources related to manufacturing and metrology.
Frequently Asked Questions (FAQ)
What is the most important attachment for milling with a drill press?
The most critical attachment is a cross-slide vise (also known as a milling vise or compound vise). This provides the necessary X-Y axis movement of the workpiece, allowing you to precisely position it relative to the rotating cutting tool, which is essential for any milling operation.
Can I use regular drill bits for milling?
No, you should not use regular twist drill bits for milling. Milling requires specialized cutting tools called end mills, which are designed to cut on their sides as well as their ends. Using a drill bit for milling can damage the bit, the workpiece, or the drill press, and will not produce accurate results.
What kind of materials can I mill with a converted drill press?
You can successfully mill softer metals like aluminum and brass, as well as plastics and wood. While it’s possible to mill mild steel