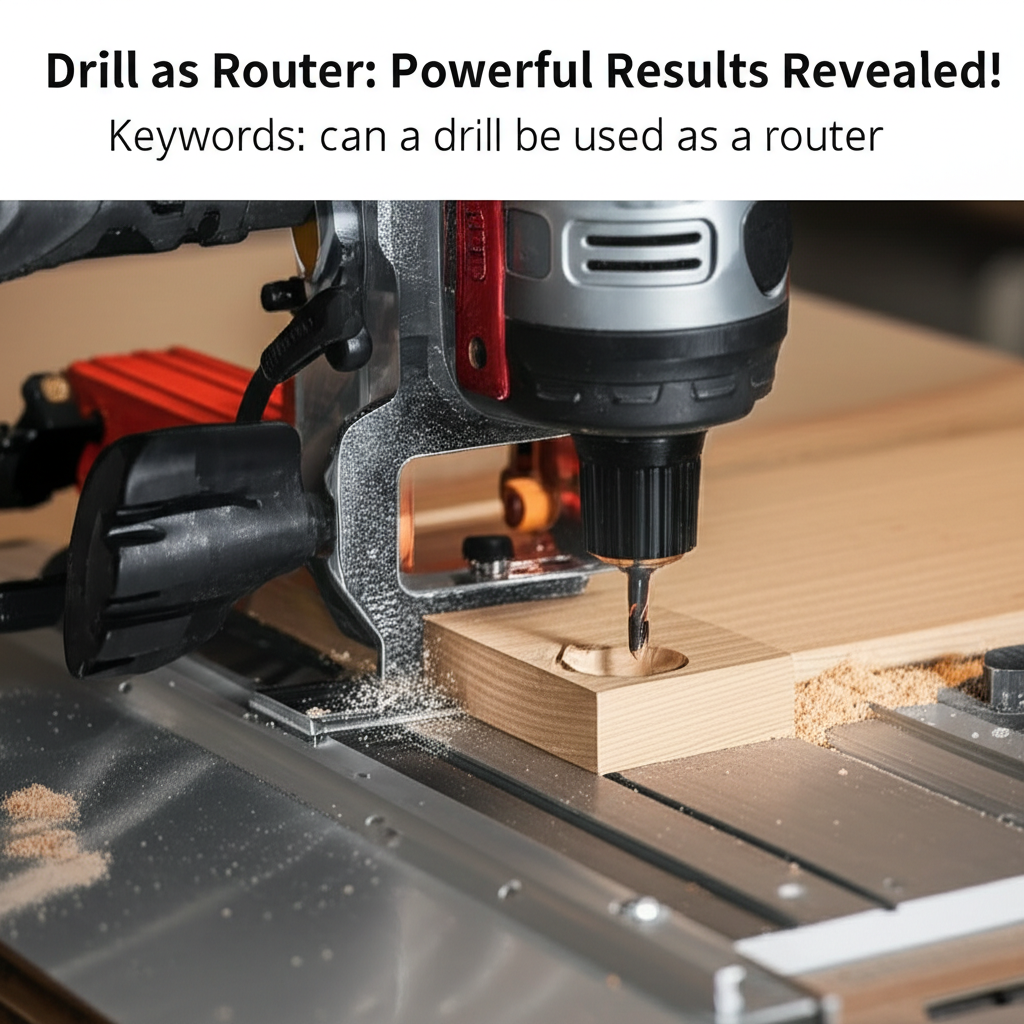
Yes, you absolutely can use a drill as a router for certain tasks, opening up a world of creative possibilities for DIYers and hobbyists. With the right attachments and a bit of know-how, your drill can transform into a surprisingly capable routing tool, allowing you to shape wood, create decorative edges, and much more.
Must-Have Tools in Your House If You Work Regularly


Ever found yourself with a fantastic woodworking project in mind, only to realize you don’t have a dedicated router? It’s a common frustration for many DIY enthusiasts. You’ve got a drill, that trusty workhorse of the workshop, and you’re wondering if it can step up to the plate and handle the intricate work of a router. The good news is, with the right approach and a few key accessories, your drill can indeed perform some routing tasks, saving you money and expanding your creative horizons. Let’s dive into how you can harness the power of your drill to achieve impressive routing results.
Can a Drill Be Used as a Router? The Surprising Truth!
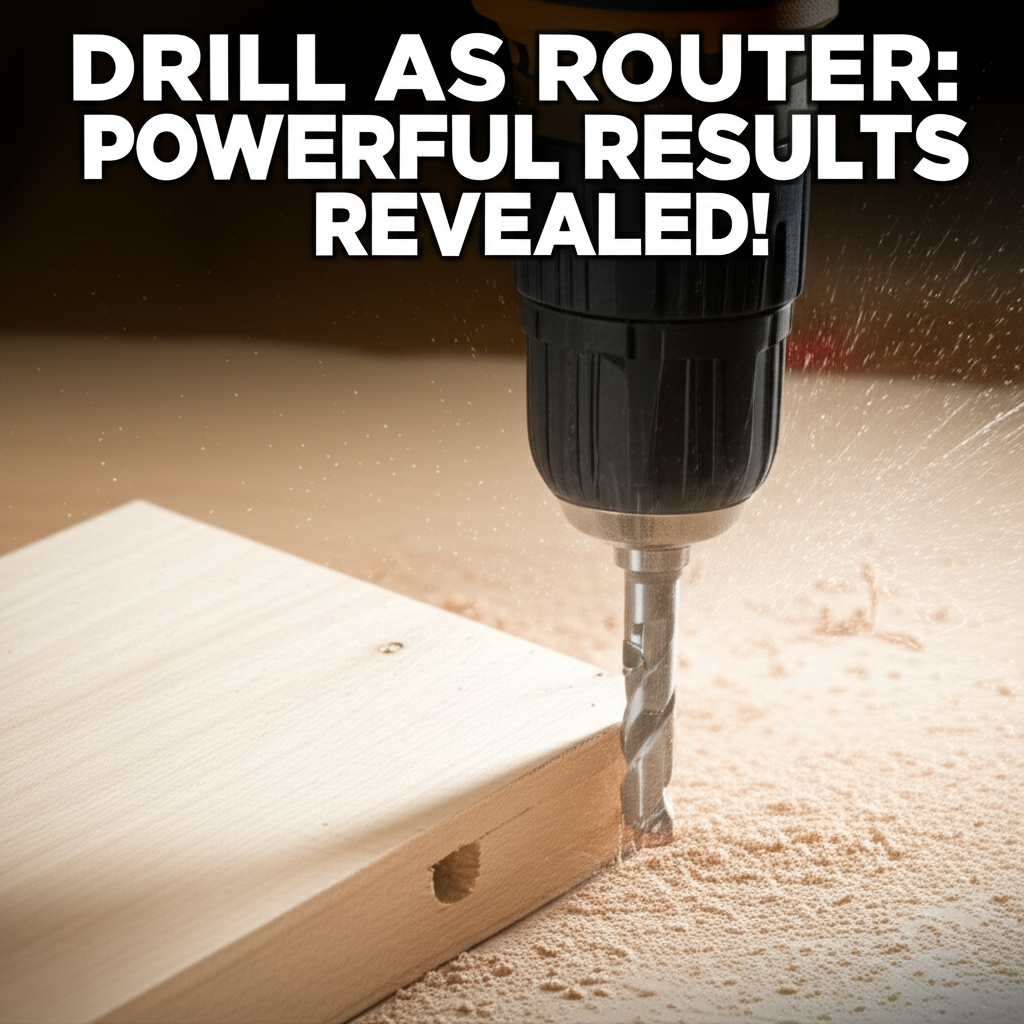
The short answer is a resounding yes, but with important caveats. While a drill won’t replace a dedicated router for heavy-duty jobs or highly precise, deep cuts, it can certainly act as a capable substitute for lighter routing applications. Think of it as a versatile tool that can adapt to your needs. You can achieve some really satisfying results, from adding decorative edges to small pieces of wood to cleaning up joinery or creating simple grooves.
The key to successfully using a drill as a router lies in understanding its limitations and utilizing the correct attachments. It’s about leveraging what you have to get the job done effectively and safely. We’ll explore the essential accessories you’ll need and the techniques to employ for the best outcomes.
What You’ll Need: The Essential Drill-to-Router Toolkit
To transform your drill into a makeshift router, you’ll need a few key components. These aren’t just random attachments; they’re specifically designed to adapt your drill’s rotational power to the cutting action of a router bit.
1. Rotary Tool Adapter Kits
This is perhaps the most common and accessible way to use your drill as a router. Many rotary tool manufacturers (like Dremel, Wen, and others) offer specialized attachment kits. These kits typically include:
- A flexible shaft or a rigid extension that attaches to your drill’s chuck.
- A collet that holds standard rotary tool bits (which often resemble small router bits).
- Sometimes, a small base or guide that helps maintain depth and stability.
These adapters allow you to hold the cutting tool with greater precision than just holding the drill itself, giving you much better control over the cut. They are ideal for detailed work on smaller projects.
2. Dedicated Drill-to-Router Attachments
Beyond the smaller rotary tool attachments, there are more robust adapters designed to connect standard drill bits (like ¼-inch or ⅛-inch shank bits) to a router-like base. These are less common but can offer more stability for slightly larger tasks. They typically involve a base plate with a guide and a chuck that attaches to your drill’s spindle.
3. Router Bits for Drills
Crucially, you need the right bits. While some rotary tool attachments use very small bits, you can also find ¼-inch shank router bits designed for use with drills that have appropriate collets or chucks. These bits are specifically made for wood and come in various profiles: roundover, chamfer, straight, and decorative edge bits. Ensure the shank size of your bits matches the collet or chuck you’re using.
4. Safety Gear (Non-Negotiable!)
Before we even touch on techniques, let’s talk safety. When dealing with any rotating power tool, especially when adapting it for a different purpose, safety is paramount. You’ll need:
- Safety Glasses or Goggles: To protect your eyes from flying sawdust and debris.
- Dust Mask: Wood dust can be harmful to inhale.
- Hearing Protection: Drills can be loud, especially when running at higher speeds.
- Gloves (Optional but Recommended): To improve grip and protect your hands.
Always ensure your work area is well-lit and free of clutter. Secure your workpiece firmly to your workbench using clamps.
How to Use Your Drill as a Router: Step-by-Step
Now that you have your tools and safety gear, let’s get to the practical application. The process will vary slightly depending on the type of adapter you’re using, but the core principles remain the same.
Step 1: Secure Your Workpiece
This is critical for safety and accuracy. Use sturdy clamps to fix your wood securely to your workbench. Ensure the area you intend to route is accessible and that the clamps won’t interfere with your tool’s movement.
Step 2: Attach the Router Bit to Your Drill
If using a rotary tool adapter, insert the appropriate collet into the adapter’s chuck and then insert the router bit, tightening it securely. If using a more direct drill-to-router attachment, follow the manufacturer’s instructions to secure the bit in the drill’s chuck or the attachment’s chuck.
Important: Always ensure the bit is centered and firmly seated. A wobbly bit is a recipe for disaster.
Step 3: Set Up Your Drill
Attach the adapter to your drill if it’s not already integrated. If you have a flexible shaft, attach that to the drill. For most routing tasks, you’ll want to use the drill on a medium to high speed setting. However, always consult the recommendations for your specific router bit and adapter. Some finer bits may require slower speeds to prevent burning or breaking.
Tip: If your drill has a variable speed trigger, start at a lower speed and gradually increase it as you begin the cut. This gives you better control.
Step 4: Perform a Test Cut
Before working on your actual project piece, practice on a scrap piece of the same type of wood. This allows you to:
- Get a feel for the tool’s performance.
- Test the cutting depth and angle.
- Check for any vibrations or instability.
- Ensure the bit is sharp and cutting cleanly.
This step is invaluable for preventing mistakes on your main project.
Step 5: Begin Routing
Hold the drill or the adapter assembly firmly with both hands. If your attachment has a base plate or guide, use that to rest on the surface of the wood. Begin the cut by gently bringing the spinning bit into contact with the wood. Move the tool smoothly and steadily along your desired path.
Technique Matters:
- Depth: For deeper cuts, make multiple shallow passes rather than trying to remove a lot of material at once. This reduces strain on the drill and results in a cleaner cut.
- Direction: Generally, you want to move the router bit against the grain (climb cutting) for a smoother finish, but this can be less stable with a drill setup. Experiment on your scrap wood to find what works best for your specific bit and adapter. A common recommendation for handheld routing is to move the router from left to right (when the bit is in front of you) for a conventional cut.
- Stability: Keep the base of your attachment or the drill housing firmly against the workpiece. Avoid tilting the drill.
Step 6: Clean Up and Inspect
Once you’ve completed your routing, turn off the drill and allow the bit to stop spinning completely before removing it from the wood. Clean away any sawdust from your workpiece and inspect the results. Make any necessary adjustments for future passes.
When Can a Drill Be Used as a Router? Ideal Applications
While not a replacement for a dedicated router, a drill can be surprisingly effective for a range of tasks:
- Decorative Edging: Adding roundover or chamfer bits to the edges of shelves, tabletops, or decorative items.
- Grooving: Cutting shallow grooves for inlay work or decorative patterns.
- Cleaning Up Joints: Lightly cleaning up edges of dadoes or rabbets.
- Engraving/Carving: With very fine bits, you can achieve detailed carving on softer woods or even certain plastics.
- Small Projects: Ideal for hobbyist woodworking, dollhouse construction, or model making where precision is needed on small pieces.
For instance, creating a simple rounded edge on a wooden shelf is well within the capabilities of a drill with the right attachment.
Limitations and Considerations: When NOT to Use Your Drill as a Router
It’s crucial to understand where this makeshift solution falls short. A standard drill often lacks the power, weight, and stability of a dedicated router, especially for more demanding jobs.
- Deep or Wide Cuts: Trying to remove a significant amount of material quickly will likely overload your drill, overheat the motor, and result in a rough, uneven cut. Dedicated routers have more powerful motors and are designed for continuous, heavy-duty use.
- Large Projects: Routing the edges of a large dining table or a substantial piece of furniture will be very difficult and time-consuming with a drill. The lack of a stable base and consistent depth control becomes a major issue.
- Plunge Routing: Most drill setups won’t allow for precise plunge cuts (starting a cut in the middle of a workpiece).
- Bearing-Guided Bits: Many router bits have bearings to follow a template or a pre-existing edge. Achieving consistent contact with these bearings using a drill can be challenging without a proper router base.
- Material Hardness: While it can work on softwoods like pine or poplar, using a drill as a router on hardwoods like oak or maple will be much more difficult and may yield poor results.
If your projects involve these more demanding tasks, investing in a dedicated trim router or a full-sized router is highly recommended. You can find excellent entry-level routers for a few hundred dollars that will offer superior performance and safety for these applications.
Comparing Drill Types for Routing Tasks
Not all drills are created equal when it comes to adapting them for routing. Here’s a quick comparison:
| Drill Type | Pros for Routing | Cons for Routing | Best For |
|---|---|---|---|
| Corded Drill | Consistent power supply, generally more torque. | Less maneuverability due to the cord. | Slightly heavier tasks, stationary setups. |
| Cordless Drill (Brushless) | Excellent maneuverability, good power, especially brushless models. | Battery life can be a limitation, power may vary. | Most general DIY routing tasks, portability. |
| Cordless Drill (Brushed) | Accessible, good for light tasks. | Less power and efficiency than brushless, motor can overheat faster. | Very light decorative edging, occasional use. |
| Impact Driver | High torque. | Designed for impact, not continuous rotation; unsuitable for routing. | Not recommended for routing. |
For routing, a drill with good variable speed control and sufficient torque is ideal. Brushless cordless drills often provide the best balance of power and control for this adapted use.
Maintaining Your Drill and Attachments
After each use, it’s good practice to clean your drill and any attachments. Blow out dust from vents, wipe down surfaces, and ensure bits are clean and free of debris. Store them properly to prevent damage. Regularly check your attachments for any signs of wear or damage, especially the collets and chucks.
When to Consider a Dedicated Router
If you find yourself frequently performing routing tasks or needing more power and precision, it’s time to consider a dedicated router. The market offers a range of options:
- Trim Routers: These are smaller, lighter, and more maneuverable than full-sized routers, making them excellent for edge detailing and smaller projects. They often come with both fixed and plunge bases.
- Fixed-Base Routers: The standard workhorse for most routing tasks, offering stability and control for various applications.
- Plunge Routers: Designed specifically for plunge cuts and mortising, offering greater depth control.
For more information on choosing the right router for your needs, resources like Popular Mechanics offer comprehensive guides.
Ultimately, while your drill can be a surprisingly capable routing tool with the right attachments, it’s important to match the tool to the task. For light decorative work and simple grooves, your drill can shine. For more demanding woodworking, a dedicated router is a worthwhile investment.
Frequently Asked Questions (FAQ)
Can I use any drill bit with a drill-router attachment?
No, you should only use router bits or rotary tool bits that are specifically designed for the adapter and your drill. Standard drill bits are not suitable for routing operations as they lack the correct cutting geometry and shank design. Always ensure the bit’s shank diameter matches the collet or chuck of your attachment.
Will using a drill as a router damage my drill?
Potentially, yes, if you push it too hard or for too long. Drills are not designed for the continuous, high-torque, lateral forces that routing can create. Overheating the motor or damaging the chuck are possible risks, especially with less powerful or older drills. Stick to lighter tasks and give your drill breaks to cool down.
What is the safest way to use a drill as a router?
Safety is paramount. Always wear safety glasses and a dust mask. Securely clamp your workpiece. Use both hands to control the drill and attachment. Make shallow passes for deeper cuts. Practice on scrap wood first to get a feel for the tool and ensure everything is stable before working on your project.
How do I control the depth of cut when using a drill as a router?
Depth control is one of the main challenges. If your attachment has a depth adjustment feature, use that. Otherwise, you’ll need to rely on careful hand control and making multiple shallow passes. You can also mark your desired depth on the workpiece and visually guide your cut.
Can I use a drill as a router on metal?
It is generally not recommended to use a drill as a router for metal. Routing metal requires significantly more power, specialized bits, and robust machinery to handle the material’s hardness and heat. Attempting this with a standard drill setup is dangerous and unlikely to yield good results.
What kind of wood is best for practicing with a drill as a router?
Softer woods like pine, poplar, or even plywood are excellent for practice. They are easier to cut, less likely to cause your drill to bog down, and forgiving of minor mistakes. Avoid hardwoods like oak or maple for initial practice sessions.
Is it better to use a corded or cordless drill for routing?
Both can work, but a corded drill often provides more consistent power and torque, which can be beneficial for routing. Cordless drills offer greater maneuverability but are limited by battery life and can sometimes lack the sustained power needed for longer routing tasks, especially brushed models. Brushless cordless drills are a better option for cordless use due to their efficiency and power.