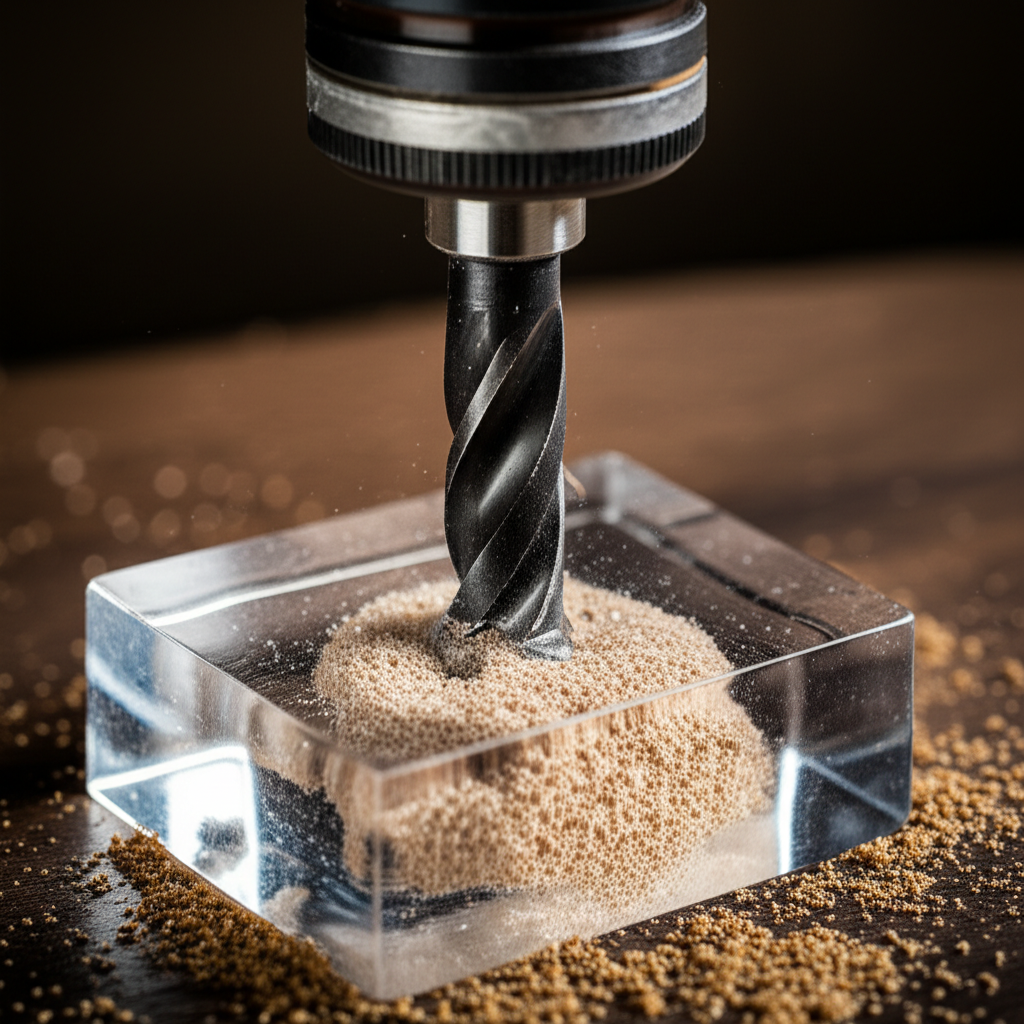
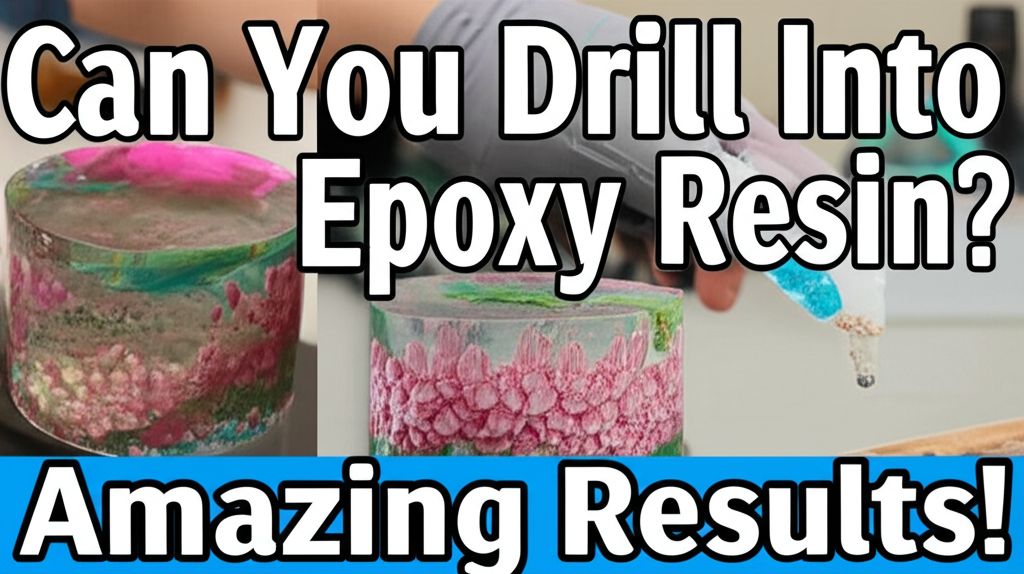
Yes, you absolutely can drill into epoxy resin, and with the right techniques and tools, you can achieve amazing, precise results! Whether you’re adding hardware, creating decorative holes, or preparing for a new project, drilling epoxy is a common and manageable DIY task.
Must-Have Tools in Your House If You Work Regularly


Ever looked at a beautiful epoxy countertop, a sturdy resin table, or even a piece of art and wondered if you could safely drill into it? It’s a question many DIYers and homeowners grapple with. You might need to hang a shelf, attach a fixture, or simply add a unique touch to your resin creation, but the thought of cracking or damaging that smooth, hard surface can be daunting. It’s natural to feel a bit hesitant when working with materials that look as flawless as epoxy resin. But don’t let that stop you! With a little know-how, you can confidently drill into epoxy resin for a variety of applications. In this guide, we’ll walk you through everything you need to know to get those perfect holes without any of the stress. Get ready to unlock new possibilities for your epoxy projects!
Understanding Epoxy Resin and Drilling
Epoxy resin, often used in countertops, flooring, tabletops, and decorative crafts, is a thermosetting polymer known for its durability, chemical resistance, and glossy finish. When cured, it forms a very hard and somewhat brittle material. This hardness is what makes drilling possible, but also why caution is necessary. Unlike softer materials, drilling into epoxy requires specific considerations to avoid chipping, cracking, or overheating the resin, which can lead to discoloration or surface damage. The key is to use the right tools at the right speed with the correct pressure.
The process might seem intimidating, but with a clear understanding of the material and the right approach, it’s a straightforward task. We’ll cover the types of drills and bits best suited for the job, essential preparation steps, and the actual drilling technique. Plus, we’ll touch on how to finish the drilled hole to maintain that beautiful epoxy aesthetic. Let’s dive into what makes drilling epoxy a success.
What You’ll Need: Essential Tools and Materials
Gathering the right equipment is the first step to a successful drilling project. Having the proper tools not only makes the job easier but also significantly reduces the risk of damaging your epoxy surface. Here’s a breakdown of what you’ll need:
Drill Bits for Epoxy Resin
The type of drill bit you use is crucial. Standard wood or metal bits might work in a pinch, but specialized bits offer much better control and cleaner results. The best choices are:
- Carbide-Tipped Drill Bits: These are excellent for harder materials like epoxy. Their hardness allows them to cut through the resin cleanly without excessive heat buildup.
- Diamond-Tipped Drill Bits: Often used for drilling glass and tile, these bits are also superb for epoxy resin. They cut efficiently and produce very smooth holes. They are particularly good for creating precise, clean entry and exit points.
- Brad-Point Drill Bits: While primarily for wood, the sharp point of a brad-point bit can help center the drill and prevent the bit from “walking” across the surface, which is beneficial for starting a hole accurately on smooth epoxy.
- Step Bits: These are fantastic for creating multiple hole sizes with a single bit and can be very effective for drilling into thinner epoxy layers or creating slightly larger holes with controlled expansion.
It’s generally recommended to use bits designed for harder materials. Avoid using very dull bits, as they will require more force and generate more heat.
Drilling Equipment
The type of drill you use will influence the ease and precision of your work:
- Cordless Drill: For most DIY applications, a good quality cordless drill is sufficient. Look for one with variable speed control.
- Drill Press: For maximum accuracy and stability, especially for deeper or more precise holes, a drill press is ideal. It ensures the bit goes in straight and at a consistent speed.
- Rotary Tool (e.g., Dremel): For very small holes or intricate work, a rotary tool with the appropriate bits can be very useful.
Safety Gear
Safety is paramount when working with power tools and resins:
- Safety Glasses/Goggles: Protect your eyes from flying debris.
- Dust Mask: Epoxy dust can be an irritant, so wear a mask, especially when drilling larger holes or many holes.
- Gloves: Protect your hands.
Other Useful Items
- Masking Tape: Apply a few layers of painter’s tape or masking tape over the drilling area. This helps prevent the drill bit from slipping and minimizes chipping around the entry point.
- Center Punch or Awl: To create a small indentation to guide the drill bit, preventing it from wandering.
- Coolant/Lubricant: A small amount of water, cutting oil, or even a spray of soapy water can help keep the drill bit cool, reduce dust, and improve the cut.
- Vacuum Cleaner: To clean up dust and debris as you go.
- Measuring Tape and Pencil/Marker: For accurate placement of your holes.
Having all these items ready before you start will ensure a smooth and efficient drilling process.
Preparing Your Epoxy Surface for Drilling
Proper preparation is key to achieving clean, precise holes and preventing damage to your epoxy resin. Rushing this stage can lead to frustrating mistakes. Let’s go through the essential preparation steps:
- Clean the Surface: Ensure the area where you plan to drill is clean and free of dust, dirt, or any contaminants. A clean surface prevents debris from getting caught in the drill bit and causing issues. Use a soft cloth and a mild cleaner, then dry thoroughly.
- Mark Your Drilling Spot: Use a measuring tape and a pencil or marker to accurately mark the center of the hole. Precision here ensures your project turns out exactly as you envision.
- Apply Masking Tape: This is a critical step. Place a few layers of painter’s tape or masking tape over the marked spot. This tape provides a surface for the drill bit to bite into, significantly reducing the chance of the bit slipping or “walking” across the smooth epoxy surface. It also helps to catch small chips and prevent them from spreading.
- Create a Pilot Mark: Use a center punch or an awl to gently tap a small indentation at the center of your marked spot, right through the masking tape. This indentation will give your drill bit a starting point and guide it straight into the epoxy. Be gentle; you don’t need to go deep, just enough to create a guide.
- Consider Support: If you are drilling through a thinner piece of epoxy or a section that might be flexible, place a piece of scrap wood or a plastic shim underneath the drilling area to support it. This prevents the epoxy from flexing and cracking as the drill bit exits the material.
Taking these preparatory steps will set you up for a much smoother and more successful drilling experience.
The Drilling Process: Step-by-Step
Now that your surface is prepped, it’s time to drill. The key here is control: slow speed, steady pressure, and keeping the bit cool. Follow these steps for optimal results:
- Select the Right Drill Bit and Speed: Choose your prepared drill bit (carbide-tipped or diamond-tipped are highly recommended). Set your drill to a low to medium speed setting. High speeds can generate excessive heat, which can melt or discolor the epoxy, and also increase the risk of chipping. For most epoxy drilling, speeds between 300-600 RPM are generally effective.
- Position the Drill: Place the tip of the drill bit firmly in the pilot mark you created. Ensure the drill is held perpendicular to the surface. If using a cordless drill, brace your wrist for stability. A drill press offers superior stability and accuracy for this step.
- Begin Drilling: Apply steady, gentle pressure. Let the drill bit do the work. Avoid forcing the drill; if you encounter resistance, ease up slightly. The goal is a controlled, clean cut, not a forceful push.
- Use a Coolant/Lubricant (Optional but Recommended): Periodically spray a small amount of water, soapy water, or cutting oil onto the drilling area. This helps to keep the drill bit cool, preventing heat buildup that can damage the epoxy. It also helps to flush away any fine dust particles, improving the cut and reducing the risk of the bit binding. You might need to pause drilling to apply more coolant.
- Drill Slowly and Steadily: Continue drilling at a slow, consistent speed. If drilling through a thicker piece, you might want to drill partway, retract the bit slightly to clear chips and reapply coolant, then continue. This “pecking” motion can help prevent the bit from overheating and remove debris more effectively.
- Watch for the Exit: As you approach the other side of the epoxy, reduce the pressure even further. This is where chipping is most likely to occur. If you have support material underneath, ensure it’s stable.
- Clean Up: Once the hole is complete, slowly withdraw the drill bit. Use a vacuum cleaner to immediately remove any dust or debris from the surface and around the hole. You can also use a soft brush.
A calm, steady hand is your best asset here. Don’t be afraid to pause and reassess if needed.
Finishing the Drilled Hole
After drilling, the hole might have a slightly rough edge or a small amount of dust. Proper finishing ensures your work looks professional and maintains the integrity of the epoxy surface. Here’s how:
- Cleanliness is Key: Thoroughly clean the drilled hole and surrounding area. Compressed air can be useful for blowing out any remaining dust from inside the hole.
- Sanding (Optional): For very minor imperfections or rough edges, you can use very fine-grit sandpaper (e.g., 400-grit or higher) or a fine-grit sanding sponge. Sand very gently in a circular motion around the edge of the hole. Be cautious not to oversand or scratch the surrounding epoxy surface.
- Polishing (Optional): If you want to restore a high gloss to the area immediately around the hole (especially if you had to sand it), you can use an epoxy polishing compound. Apply a small amount to a soft cloth and buff the area gently.
- Sealing (If Necessary): If the hole is for a specific purpose that requires sealing (e.g., for a screw that needs protection from moisture, though unlikely with epoxy), you might consider a tiny amount of clear epoxy or a sealant. However, for most decorative or hardware-mounting purposes, a clean, smooth hole is sufficient.
The goal is to make the hole look as clean and seamless as possible within the epoxy surface.
Troubleshooting Common Issues
Even with the best preparation, you might encounter a few hiccups. Here’s how to deal with them:
- Chipping: This is the most common issue. If you notice chipping, immediately ease up on the pressure and ensure your drill bit is sharp. Applying more masking tape and using a pilot mark can prevent this. If it happens, you might be able to smooth it with fine-grit sandpaper or polish.
- Overheating/Melting: If the drill bit starts to melt or discolor the epoxy, you’re drilling too fast or with too much pressure. Stop immediately, let the epoxy cool, and try again at a lower speed with less pressure, using coolant.
- Bit Slipping: This is why masking tape and a pilot mark are so important. If the bit slips, you might need to re-tape the area and re-mark your spot, ensuring a good pilot indentation.
- Drill Bit Binding: If the drill bit gets stuck, don’t force it. Reverse the drill to back the bit out slowly. Clear any debris and try again with less pressure.
Remember, patience and a gentle touch are your best allies when drilling into epoxy resin.
Benefits of Drilling into Epoxy Resin
Why go through the effort of drilling into epoxy? The possibilities are quite exciting!
- Hardware Installation: Easily attach handles, hinges, brackets, or other hardware to epoxy countertops, furniture, or decorative pieces.
- Decorative Accents: Create unique visual effects by drilling holes for lighting, allowing light to pass through, or embedding other materials.
- Creating Channels: Drill channels for wiring or for embedding other decorative elements like metal rods or glass beads.
- Customization: Personalize your epoxy creations by adding custom features, such as mounting points or decorative perforations.
- Repair and Modification: In some cases, drilling might be necessary for repairs or to modify existing epoxy installations.
The ability to drill into epoxy opens up a world of customization and functionality for your projects.
Drilling into Different Types of Epoxy Projects
The approach might vary slightly depending on what you’re drilling into:
- Epoxy Countertops: These are typically thick and well-cured. Use a carbide-tipped bit, masking tape, and a pilot mark. Go slowly and steady, and consider a coolant. For heavier items, ensure the mounting point is adequately supported by the substrate beneath the epoxy.
- Epoxy Tabletops/Furniture: Similar to countertops, but if the epoxy layer is thinner, be extra careful with pressure to avoid cracking the entire piece. Support underneath is crucial.
- Epoxy Art/Crafts: For smaller, thinner pieces or intricate designs, a rotary tool with a small diamond or carbide bit might be more suitable. Precision is key here, so take your time and drill slowly.
- Epoxy Flooring: Drilling into epoxy flooring is usually for attaching fixtures or anchors. Ensure you use appropriate bits for concrete if drilling through both epoxy and the concrete subfloor.
Always consider the thickness and structural integrity of the epoxy piece you are working with.
Comparison of Drill Bit Types for Epoxy Resin
Choosing the right drill bit can make all the difference. Here’s a quick comparison:
| Drill Bit Type | Pros | Cons | Best For |
|---|---|---|---|
| Carbide-Tipped | Durable, good heat resistance, cuts cleanly | Can be slightly more expensive | General purpose drilling, creating clean holes |
| Diamond-Tipped | Extremely hard, cuts very smoothly, minimal heat buildup | Most expensive option, can wear out over time | Precision work, very clean edges, drilling thicker resin |
| Brad-Point (Wood) | Sharp point for accuracy, inexpensive | Less durable for hard materials, can generate more heat | Starting holes accurately on thinner epoxy, light-duty tasks |
| Step Bits | Versatile for multiple hole sizes, good control | Can create larger chips if not used carefully | Creating slightly larger holes, precise hole sizing |
For most DIYers tackling epoxy resin, carbide-tipped or diamond-tipped bits are the top recommendations for reliable results.
Safety First: Essential Precautions
While drilling into epoxy is generally safe, always remember these precautions:
- Eye Protection: Always wear safety glasses. Epoxy dust or small chips can fly off unexpectedly.
- Dust Inhalation: Wear a dust mask, especially when drilling larger holes or in poorly ventilated areas. Cured epoxy dust, while less toxic than uncured resin, can still be an irritant.
- Tool Stability: Ensure your drill is stable and perpendicular to the surface. Use a drill press if possible for maximum control.
- Cooling: Be mindful of heat. Overheating can damage the epoxy. Use coolant and drilling techniques that minimize heat buildup.
- Read Tool Manuals: Familiarize yourself with your drill and any accessories you are using.
Following these safety guidelines will help prevent injuries and ensure a positive experience.
Frequently Asked Questions About Drilling Epoxy Resin
Can I use a regular drill bit for epoxy resin?
While some general-purpose drill bits might work for very light-duty tasks, it’s highly recommended to use specialized bits like carbide-tipped or diamond-tipped drill bits. These bits are designed for harder materials and will provide cleaner cuts, reduce heat buildup, and minimize the risk of chipping or cracking your epoxy surface.
What speed should I drill epoxy at?
You should always drill epoxy resin at a slow to medium speed. High speeds generate excessive heat, which can melt, discolor, or damage the epoxy. Aim for a speed range of around 300-600 RPM. If your drill doesn’t have a specific RPM setting, use the lowest or medium-low setting and apply steady, gentle pressure.
How do I prevent epoxy resin from chipping when drilling?
Chipping is a common concern. To prevent it, use masking tape over