
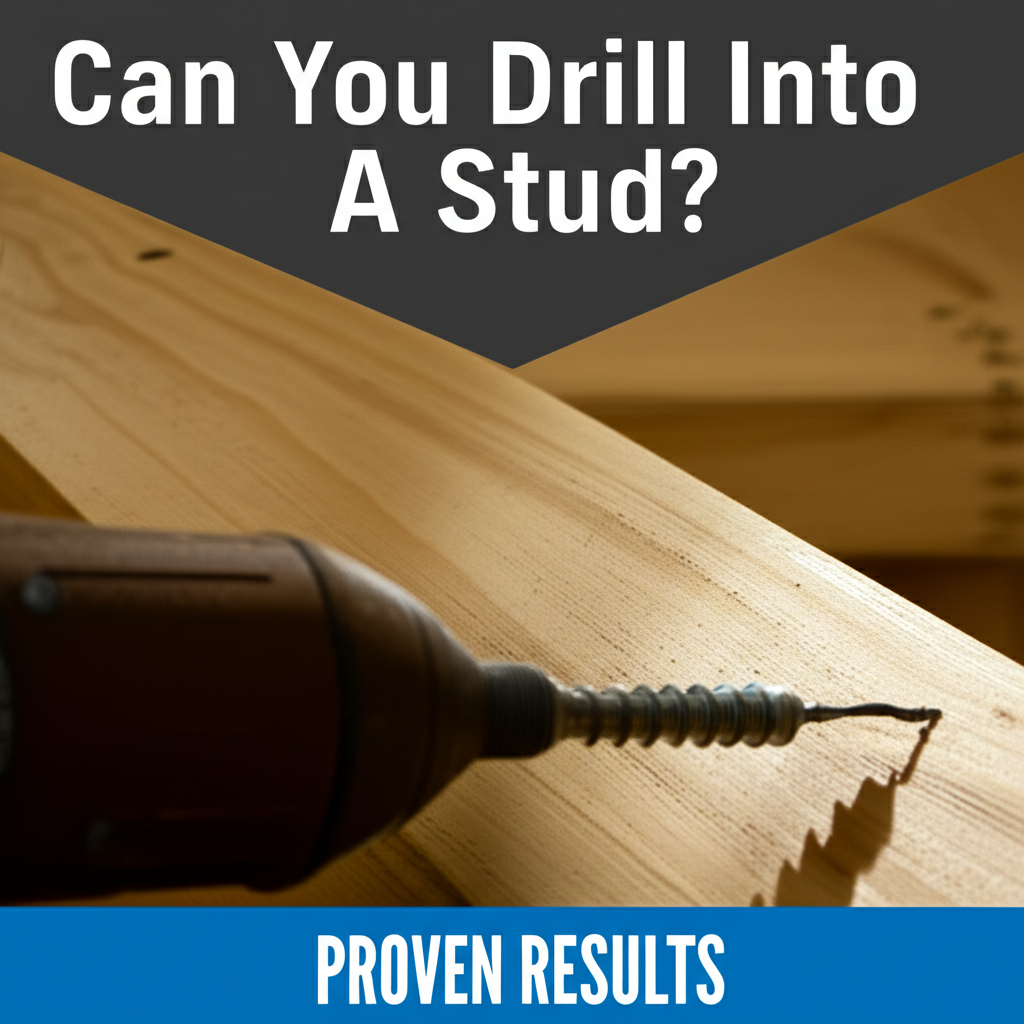
Yes, you absolutely can drill into a stud! It’s a common and often necessary task for hanging shelves, mounting TVs, or securing cabinets. Knowing how to locate and drill into studs safely and effectively is a fundamental DIY skill that ensures your projects are secure and your walls remain intact.
Must-Have Tools in Your House If You Work Regularly


Ever stood in front of your wall, a heavy mirror in hand, wondering if you can just drill a hole and hope for the best? Many of us have. The thought of drilling into a wall can be a little nerve-wracking, especially when you’re not sure what’s behind that drywall. Will you hit a pipe? Electrical wiring? Or, more importantly, will you hit something solid enough to hold your project? The good news is, with a little know-how, drilling into a stud is not only possible but the best way to ensure a strong, reliable anchor point. We’re here to walk you through exactly how to do it, making your DIY projects a breeze.
The Basics: What Exactly is a Stud and Why Drill Into It?
Think of studs as the skeleton of your wall. They are the vertical framing members that provide structural support to your walls, ceilings, and floors. Typically made of wood (like pine or fir) or metal, they are spaced at regular intervals, usually 16 or 24 inches apart, though older homes might have different spacing. These sturdy supports are what allow you to hang heavy items like bookshelves, flat-screen TVs, bathroom vanities, and even structural elements without the risk of them pulling away from the wall.
When you’re planning to hang anything substantial, drilling directly into a stud is crucial. Drywall, the material that makes up most interior walls, is relatively soft and brittle. While it can hold very light items with just a drywall anchor, anything with significant weight needs the robust support of a stud. Missing a stud means your item is likely to fall, potentially causing damage to your wall, the item itself, and even injury. So, understanding where and how to find these hidden supports is key to successful DIY projects.
Finding Your Studs: The Essential First Step
Before you even think about picking up a drill, the most important step is locating those studs. Luckily, there are several reliable methods, ranging from simple to high-tech.
1. The Stud Finder: Your High-Tech Helper
This is the most common and arguably the easiest method. Stud finders come in a few varieties:
- Magnetic Stud Finders: These are the simplest. They detect the metal screws or nails used to attach the drywall to the studs. You simply slide it across the wall, and it will alert you when it finds a fastener.
- Electronic Stud Finders: These are more common and come in two main types:
- Capacitive (Edge-Finding): These have sensors that detect changes in the density of the wall. You move the finder slowly across the wall, and it typically beeps or lights up when it detects the edge of a stud. You’ll need to find both edges to determine the center.
- Radar/Ultrasonic Stud Finders: These are generally more advanced and can detect not just studs but also pipes and wires. They are usually more expensive but offer greater accuracy and safety.
How to Use an Electronic Stud Finder:
- Calibrate: Most electronic stud finders require calibration. Hold the device flat against the wall where there is no stud and press the calibration button. Wait for the indicator to show it’s ready.
- Scan: Slowly slide the stud finder horizontally across the wall.
- Mark Edges: When the device signals a stud (usually with a beep or light), mark the edge of the stud with a pencil.
- Find Center: Continue sliding the finder until the signal stops. This is the other edge of the stud. Mark this edge too.
- Locate Center: The center of the stud is typically halfway between your two marks. You can mark this center point.
- Verify: Scan vertically or diagonally in that area to confirm the stud’s location and ensure you haven’t mistaken something else for a stud.
2. The Old-Fashioned Knock Test
This method relies on sound and experience. Studs create solid, resonant sounds when tapped, while the spaces between them produce a hollower sound.
- Listen: Gently tap your knuckles or a small hammer against the wall.
- Identify Changes: Move across the wall, listening for the sound to change from hollow to solid.
- Mark: Mark the areas where you hear a solid sound.
- Verify: This method is less precise. It’s often best used in conjunction with a stud finder or by trying to locate electrical outlets or light switches, as these are almost always mounted to a stud.
3. Look for Visual Clues
Sometimes, your wall can give you hints:
- Electrical Outlets and Switches: Electrical boxes are typically attached to the side of a stud. If you find an outlet, you can usually assume there’s a stud directly to its left or right, usually 16 inches from the edge of the box.
- Trim and Molding: Nails or screws used to attach baseboards, crown molding, or window trim are often driven into studs. You might be able to see these nail heads, or you can gently probe with a thin nail in an inconspicuous spot near the trim to find a stud.
- Drywall Seams: Drywall sheets are usually hung on studs, so seams often run along the center of a stud.
4. Using a Thin Nail or Awl
For a more definitive, albeit slightly invasive, check, you can use a very thin nail or a stiff wire (like a coat hanger straightened out).
- Prepare: Choose a spot where you intend to drill.
- Probe Gently: Push the nail or awl into the drywall.
- Feel Resistance: If you hit a stud, you’ll feel firm resistance. If you go through drywall and into empty space, the nail will penetrate easily.
- Confirm: Try probing a few inches to the left and right to confirm the width of the stud.
Important Safety Note: Always be aware of where electrical wires and plumbing pipes might be. If you are drilling in an area near plumbing fixtures or electrical outlets, use extreme caution. Electronic stud finders that can detect wires are highly recommended in these situations.
Choosing the Right Drill and Bit for the Job
Once you’ve confidently located your stud, it’s time to choose the right tools. The type of drill and drill bit you use will depend on the material of the stud and the size of the hole you need.
Drill Types
For drilling into studs, you’ll typically use either a:
- Corded Drill: Offers consistent power and is ideal for longer drilling tasks or when you don’t want to worry about battery life.
- Cordless Drill/Driver: Offers portability and convenience. For drilling into studs, you’ll want a model with good torque and battery life. Look for drills with variable speed and clutch settings for better control.
Drill Bit Selection
The type of drill bit you use is critical:
- Wood Drill Bits: These are the standard for drilling into wooden studs. They have a sharp point that helps them penetrate the wood cleanly.
- Spade Bits (Paddle Bits): For larger holes, spade bits are efficient. They are flat and wide with a sharp point.
- Auger Bits: These are designed for drilling deep, clean holes in wood and are excellent for larger diameter holes.
- Twist Drill Bits: General-purpose bits that work well for pilot holes or smaller fasteners.
Size Matters: The diameter of your drill bit should generally be slightly smaller than the diameter of the screw or fastener you plan to use. This creates a pilot hole that guides the screw and prevents the wood from splitting, especially near the edge of the stud.
The Step-by-Step Guide: Drilling into a Stud
Now that you know how to find studs and have your tools ready, let’s get drilling!
Step 1: Mark Your Spot
Using your pencil, mark the exact center of the stud where you want to drill. If you’re hanging something that requires multiple anchor points, ensure your marks are aligned and at the correct height.
Step 2: Select Your Drill Bit
Choose a drill bit that is appropriate for the size of your screw or fastener. For most common screws (like #8 or #10), a 1/8-inch or 3/16-inch wood drill bit is usually sufficient for a pilot hole. If you’re unsure, consult the fastener’s packaging or a hardware store professional.
Step 3: Set Up Your Drill
If you’re using a cordless drill, ensure it has a good charge. For corded drills, position yourself so the cord won’t be a tripping hazard. Set your drill to the appropriate speed and torque setting. A lower speed with higher torque is generally better for controlled drilling, especially when starting.
Step 4: Drill the Pilot Hole
Place the tip of the drill bit precisely on your marked spot.
- Start Slow: Begin drilling at a slow speed. This helps the bit bite into the wood and prevents it from wandering.
- Apply Steady Pressure: Once the bit has started to penetrate, apply steady, even pressure. Don’t force the drill; let the bit do the work.
- Keep it Straight: Try to keep the drill perpendicular to the wall. Drilling at an angle can weaken the connection and make it harder to drive your screw later.
- Drill Through: Continue drilling until you feel the bit break through the other side of the stud. You might feel a slight jolt.
- Withdraw: Once you’ve drilled through, gently withdraw the drill bit while it’s still spinning slowly. This clears the hole of sawdust.
Step 5: Drive Your Fastener
Now, you can insert your screw or fastener into the pilot hole. If using a drill/driver, switch to the driving mode and use a clutch setting that matches the screw size to avoid over-tightening and stripping the screw head or damaging the stud.
Common Mistakes to Avoid When Drilling into Studs
Even with the best intentions, DIYers can sometimes run into snags. Here are a few common pitfalls to sidestep:
- Not Verifying Stud Location: Relying solely on the knock test can be inaccurate. Always try to confirm with a stud finder or by probing.
- Drilling the Wrong Size Pilot Hole: A hole that’s too small can split the wood or make it impossible to drive the screw. A hole that’s too large won’t provide enough grip for the screw.
- Drilling at an Angle: This weakens the joint and can make securing the item difficult.
- Drilling Through Electrical Wires or Pipes: This is a serious safety hazard. Always be mindful of what might be behind the wall, especially near plumbing or electrical fixtures.
- Over-tightening Screws: This can strip the screw head, strip the threads in the wood, or even crack the stud.
- Not Using a Pilot Hole for Large Screws: Large fasteners require pilot holes to prevent splitting the wood.
When to Call a Professional
While most stud-drilling tasks are well within the scope of a DIYer, there are times when it’s best to consult a professional:
- Uncertainty About What’s Behind the Wall: If you’re in an area with a high concentration of plumbing, electrical, or HVAC systems, and you’re not confident in your ability to locate studs safely, a professional can assess the situation.
- Drilling into Load-Bearing Walls: While you can drill into load-bearing studs, if you’re making significant alterations or are unsure about the wall’s structural role, consulting a contractor is wise.
- Complex Projects: For very heavy items, structural modifications, or if you’ve had trouble locating studs accurately, a professional carpenter or handyman can ensure the job is done correctly and safely.
For most common home improvement tasks, however, with the right tools and a bit of patience, drilling into a stud is a straightforward and rewarding DIY skill.
Frequently Asked Questions (FAQ)
Frequently Asked Questions About Drilling into Studs
Can I drill into a metal stud?
Yes, you can drill into metal studs, but you’ll need a drill with sufficient power and metal drill bits. Metal studs are often thinner than wood and may require self-tapping screws or specific fasteners designed for metal framing. Always use a metal drill bit, and consider using a lubricant designed for metal drilling to keep the bit cool and extend its life.
What happens if I miss the stud?
If you miss the stud, your fastener will only be anchored in the drywall. Drywall is not strong enough to support much weight, so whatever you’re hanging will likely sag, pull away from the wall, or fall completely. In such cases, you’ll need to patch the hole and try again, ensuring you hit a stud or use appropriate heavy-duty drywall anchors if a stud isn’t available.
How deep should I drill my pilot hole?
The depth of your pilot hole should be slightly less than the length of the screw you intend to use. For example, if you’re using a 2-inch screw, drill a pilot hole about 1.5 inches deep. This ensures the screw has enough thread engagement with the stud for a secure hold without going all the way through or creating an unnecessary large hole.
Do I need a pilot hole for every screw?
It’s highly recommended to use a pilot hole for most screws, especially when screwing into wood studs. Pilot holes make driving screws easier, prevent the wood from splitting (particularly important near the edge of a stud or in hardwoods), and ensure the screw goes in straight. For very small, thin screws, a pilot hole might not be strictly necessary, but it’s generally good practice.
Can I drill into a stud at an angle?
While technically possible, it’s generally not recommended to drill into a stud at a significant angle. Drilling straight (perpendicular to the wall surface) ensures the strongest connection. Angled holes can compromise the structural integrity of the connection and make it harder to drive fasteners straight, potentially leading to a weaker hold.
What’s the difference between drilling a pilot hole and drilling a clearance hole?
A pilot hole is drilled with a bit that is smaller than the screw’s diameter. Its purpose is to guide the screw and prevent wood splitting. A clearance hole is drilled with a bit that is the same diameter or slightly larger than the screw’s shank (the unthreaded part). This allows the screw to pass through the material without threading, making it easier to tighten the material against the base material (the stud, in this case). For most hanging tasks, you’ll use a pilot hole.
Drilling into a stud might seem like a small detail, but it’s the cornerstone of secure and lasting DIY projects. By understanding how to find studs and using the right techniques and tools, you can confidently tackle everything from hanging family photos to mounting heavy electronics. Remember to always prioritize safety, measure twice, and drill once!