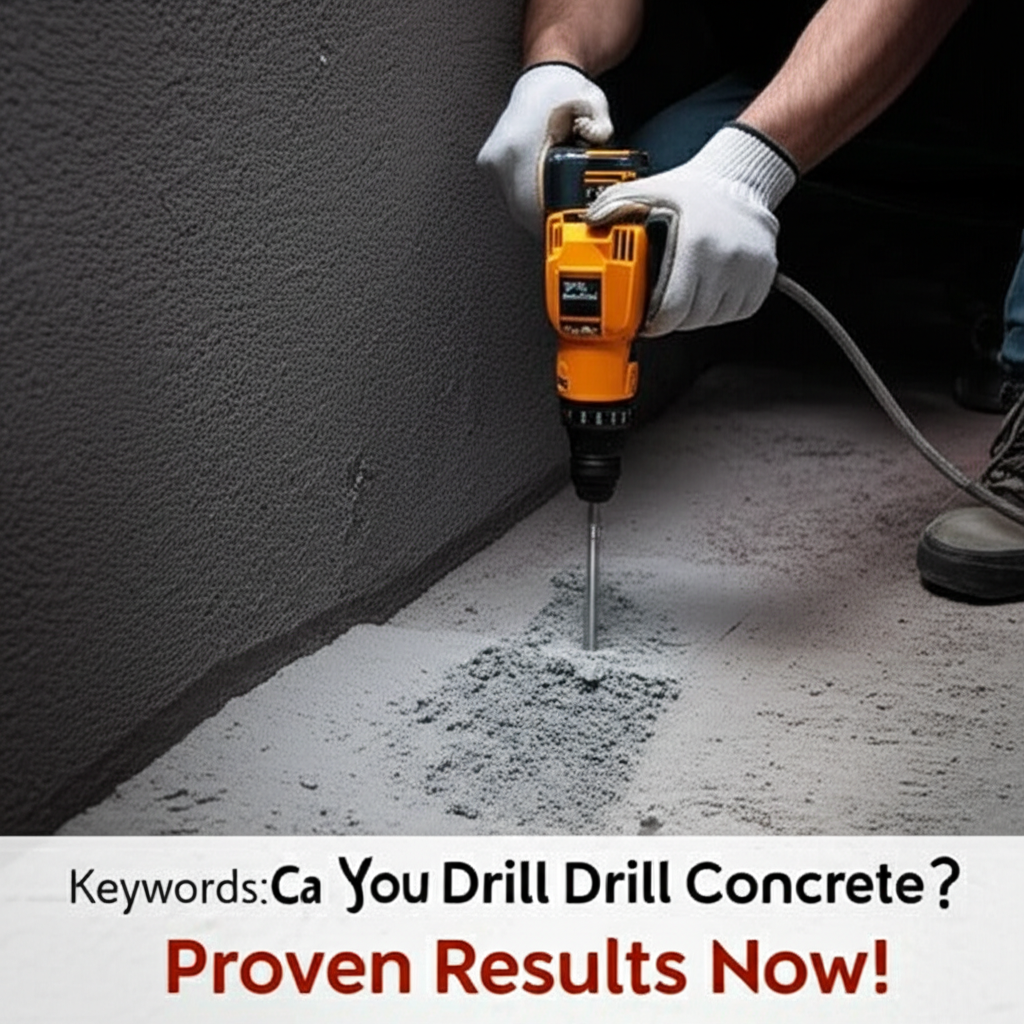
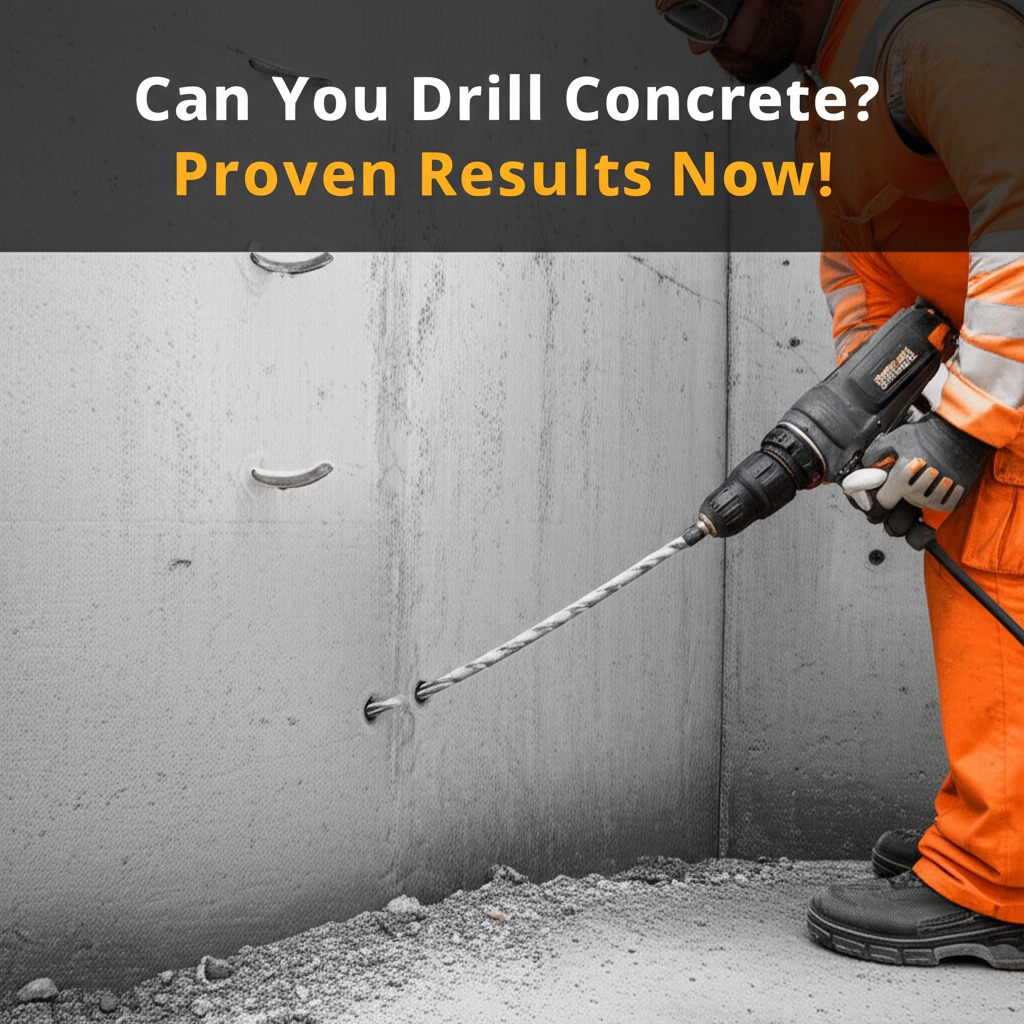
Yes, you absolutely can drill into concrete! With the right tools and techniques, drilling concrete is a manageable task for DIYers. This guide will walk you through everything you need to know to get those holes drilled safely and effectively, from choosing the right drill to mastering the process for proven results.
Must-Have Tools in Your House If You Work Regularly


Ever looked at a solid concrete wall or floor and wondered if you could actually make a hole in it? Many of us have, especially when we need to hang a shelf, mount a bracket, or install a fixture. The thought of concrete might seem intimidating, conjuring images of heavy machinery and professional contractors. But what if I told you it’s often within reach for the average homeowner or DIY enthusiast? It’s true! Drilling into concrete is a common home improvement task, and with a little guidance, you can tackle it with confidence. We’re here to demystify the process, ensuring you get the job done right, safely, and with fantastic results. Let’s dive into how you can successfully drill concrete.
Choosing the Right Drill for Concrete
When it comes to drilling into concrete, not just any drill will do. Concrete is a dense, hard material, and using the wrong tool can lead to frustration, damaged equipment, and subpar results. The key is to select a drill designed to handle such tough surfaces. The primary distinction lies in the drill’s functionality: standard drills versus hammer drills.
Standard Drills vs. Hammer Drills
A standard drill, also known as a rotary drill, spins a drill bit to bore holes. While effective for wood, metal, and plastic, it struggles against the sheer density of concrete. Trying to drill concrete with a standard drill will be incredibly slow, generate a lot of heat, and likely wear out your drill bits quickly. It might work for very small, shallow holes in softer concrete, but it’s not recommended for most applications.
A hammer drill, on the other hand, is specifically designed for masonry. It combines the rotational action of a standard drill with a hammering or percussive action. This hammering motion rapidly strikes the back of the drill bit, pulverizing the concrete material as it spins. This makes drilling through concrete significantly faster and more efficient. For most concrete drilling tasks, a hammer drill is the superior choice.
Understanding Hammer Drill Mechanisms
Hammer drills typically use one of two mechanisms to create the percussive action:
- Mechanical Hammer Drills: These drills use a cam mechanism. As the motor spins, it engages two sets of gear teeth that repeatedly clash together, creating the hammering effect. These are generally less expensive but can be more jarring to use.
- Electro-Pneumatic Hammer Drills: These are more powerful and efficient. They use a piston driven by the motor to strike the back of the drill bit. This creates a more focused and forceful hammering action with less vibration transmitted to the user.
For serious DIYers or those who anticipate frequent concrete work, an electro-pneumatic hammer drill is a worthwhile investment. Many modern hammer drills offer a switch to turn the hammer function off, allowing them to be used as standard drills for other materials, offering great versatility.
Rotary Hammers: The Heavy-Duty Option
For very hard concrete, large diameter holes, or frequent, demanding use, a rotary hammer is the next step up. Rotary hammers are more powerful than standard hammer drills and use a more sophisticated electro-pneumatic system that delivers significantly more impact energy. They are ideal for demolition, chipping, and drilling larger anchor holes.
While a hammer drill is sufficient for most homeowner needs, if you’re a professional contractor or regularly work with very hard materials, a rotary hammer might be the tool you need. However, for the average person looking to drill a few holes for shelves or brackets, a good quality hammer drill will suffice.
Essential Tools and Materials
Beyond the drill itself, you’ll need a few other key items to ensure a successful and safe concrete drilling experience. Having the right setup makes all the difference.
Drill Bits for Concrete
This is arguably the most critical component after the drill. Standard drill bits will not work. You need specialized masonry bits. These bits are typically made of hardened steel and feature a carbide tip, often with a chisel-like shape. The carbide tip is what actually cuts into the concrete.
Masonry bits come in various sizes, measured by their diameter. The size you need will depend on the fastener or anchor you plan to use. Always check the specifications of your anchors or screws for the recommended drill bit size.
Types of Masonry Bits:
- Carbide-Tipped Masonry Bits: The most common type for DIY use. Suitable for light to moderate concrete drilling.
- SDS Bits: Used with SDS hammer drills and rotary hammers. They have a special shank that slots into the drill chuck, allowing for more efficient power transfer and less slipping.
Safety Gear
Drilling concrete generates dust, debris, and can be noisy. Protecting yourself is paramount:
- Safety Glasses: Essential to protect your eyes from flying concrete dust and fragments.
- Dust Mask or Respirator: Concrete dust contains silica, which can be harmful if inhaled over time. A good quality dust mask or a respirator is highly recommended, especially for prolonged drilling. Consider an N95-rated mask or better.
- Hearing Protection: Hammer drills can be loud. Earplugs or earmuffs will protect your hearing.
- Gloves: Work gloves will protect your hands from vibrations and potential abrasions.
Other Useful Items
- Measuring Tape: For accurate placement of your holes.
- Pencil or Marker: To mark the drilling locations.
- Level: To ensure your holes are straight and plumb.
- Vacuum Cleaner (with HEPA filter if possible): For cleaning up dust as you go and after you’re finished.
- Water Spray Bottle: For cooling the drill bit and reducing dust, especially for longer drilling sessions.
- Chisel and Hammer: Sometimes useful for starting a hole or clearing debris.
- Extension Cord: If you’re not using a cordless model.
Step-by-Step Guide to Drilling Concrete
Now that you have your tools and know what to look for, let’s get down to the actual drilling process. Following these steps will help you achieve clean, accurate holes safely.
1. Mark Your Drilling Location
Use your measuring tape and pencil to mark precisely where you want the hole. If you’re hanging something that needs to be level, use your level to ensure the mark is accurate. For multiple holes, measure carefully to ensure they are spaced correctly.
2. Prepare the Drill
Insert the correct size masonry drill bit into your hammer drill’s chuck. Ensure it’s seated firmly. If you’re using a hammer drill, make sure the hammer function is engaged (usually indicated by a hammer icon). If your drill has variable speed, start with a lower setting.
3. Position the Drill
Place the tip of the drill bit precisely on your marked spot. Hold the drill firmly with both hands, ensuring it’s perpendicular (straight up and down) to the concrete surface. For stability, you might want to brace yourself or use the auxiliary handle if your drill has one.
4. Start Drilling
Begin drilling slowly at first. Apply steady, firm pressure. As the bit starts to bite into the concrete, you can gradually increase the speed and pressure. The hammering action will do most of the work.
5. Clear Debris and Cool the Bit
Periodically, pull the drill bit out of the hole while it’s still spinning slowly. This helps to clear out the concrete dust and debris, preventing the hole from becoming clogged. You can also use a vacuum to suck out the dust. Spraying a little water into the hole can help cool the bit and reduce dust, but be cautious if using a corded drill near water. It’s often better to pause and let the bit cool naturally or use compressed air.
Tip: If you’re drilling a deep hole, you might need to withdraw the bit multiple times to clear it completely.
6. Continue Drilling to Depth
Drill until you reach the desired depth. Many drill bits have a depth stop collar, or you can mark the required depth on the bit with tape. Maintain consistent pressure and let the hammer action work. Avoid forcing the drill; if it feels like it’s binding or the motor is struggling, ease up on the pressure.
7. Finish and Clean Up
Once the hole is the correct depth, slowly withdraw the drill bit while it’s still spinning. Use your vacuum cleaner to thoroughly clean out the hole, removing all dust and debris. This is crucial for ensuring your anchor or fastener will hold securely.
Tips for Specific Situations
- Starting a Hole: To prevent the bit from “walking” across the surface, you can start the hole with a slower speed and lighter pressure, or even make a small indentation with a hammer and chisel first.
- Reinforced Concrete: If you hit rebar (metal reinforcement bars), you’ll feel a significant resistance. If you’re using a standard hammer drill, you might be able to grind through thinner rebar with a masonry bit, but it will be slow and wear down your bit. For thicker rebar, you may need a more powerful rotary hammer with a specialized bit, or you’ll need to reposition your hole.
- Hard-to-Reach Areas: Consider using a right-angle drill attachment if you need to drill in tight spaces.
When to Call a Professional
While drilling concrete is often a DIY-friendly task, there are situations where it’s best to call in a professional:
- Structural Concrete: If you suspect you are drilling into load-bearing walls or structural elements, consult a structural engineer or a qualified contractor. Incorrect drilling can compromise the building’s integrity.
- Extremely Hard or Dense Concrete: If you encounter excessively hard concrete or very thick rebar and your tools are struggling significantly, a professional with more powerful equipment will be more efficient and safer.
- Large or Numerous Holes: For large-diameter holes (e.g., for plumbing or ventilation) or if you need to drill many holes, professional tools and expertise will save time and effort.
- Uncertainty: If at any point you feel unsure or unsafe, it’s always better to err on the side of caution and hire a professional.
For context on building codes and practices, the International Code Council (ICC) provides standards and guidelines that professionals adhere to, ensuring structural safety.
Common Mistakes to Avoid
Even with the right tools, beginners can make a few common mistakes. Being aware of these pitfalls can help you avoid them:
- Using the Wrong Drill Bit: As mentioned, standard bits won’t cut it. Always use carbide-tipped masonry bits.
- Not Using a Hammer Drill: Trying to drill concrete with a standard drill is inefficient and can damage your tool.
- Ignoring Safety Gear: Dust inhalation and eye injuries are serious risks. Always wear appropriate safety equipment.
- Overheating the Drill Bit: Not clearing debris or cooling the bit can lead to premature wear and reduced effectiveness.
- Applying Too Much or Too Little Pressure: Too little pressure won’t cut effectively, while too much can overheat the motor or cause the bit to break. Find a steady, firm pressure.
- Drilling at an Angle: This can cause the bit to bind, break, or create an enlarged, messy hole.
Frequently Asked Questions (FAQ)
Can I drill concrete with a regular drill?
While it might be possible to make a very small, shallow hole in softer concrete with a standard drill and a masonry bit, it’s highly inefficient, will likely damage your drill bit, and can overheat your drill motor. For best results and to avoid frustration, it’s strongly recommended to use a hammer drill.
What’s the difference between a hammer drill and a rotary hammer?
A hammer drill uses a mechanism to provide a percussive hammering action along with rotation, ideal for most DIY concrete drilling. A rotary hammer is a more powerful tool that uses a piston mechanism to deliver significantly more impact energy and is better suited for very hard concrete, larger holes, or frequent heavy-duty use.
How do I stop concrete dust from going everywhere?
You can significantly reduce dust by using a vacuum cleaner with a hose held near the drilling point to catch dust as it’s produced. Some DIYers also use a spray bottle with water to lightly mist the drilling area, which helps suppress dust, but be cautious with water near electrical tools. Always wear a dust mask or respirator.
How do I know what size drill bit to use?
The size of the drill bit you need depends on the type of anchor or fastener you plan to use. For example, a concrete anchor bolt will specify the exact diameter of the hole required. Always check the packaging or specifications of your hardware for the recommended drill bit size.
How deep can I drill into concrete?
The depth you can drill depends on the length of your drill bit and the capabilities of your drill. For most common tasks like hanging shelves, holes are typically 1 to 3 inches deep. If you need to drill deeper, ensure your drill bit and drill are adequate for the task and be prepared for longer drilling times.
What if I hit rebar while drilling?
If you hit rebar, you’ll feel a sudden increase in resistance. With a standard hammer drill, you might be able to slowly grind through thinner rebar with a masonry bit, but it will be difficult and wear down your bit. For thicker rebar, it’s best to either reposition your hole slightly or use a more powerful rotary hammer with a specialized bit. You can learn more about working with rebar from resources like the Concrete Construction magazine website, which often covers best practices.
Do I need to drill a pilot hole before drilling concrete?
No, for concrete, you generally do not need a pilot hole when using a hammer drill. The hammer action itself breaks up the material. Pilot holes are more common in woodworking or metalworking where different materials and drilling techniques are involved.
Drilling concrete might seem like a daunting task, but with the right understanding of tools and techniques, it’s entirely achievable for most DIYers. By selecting a hammer drill, using appropriate masonry bits, prioritizing safety, and following these steps, you can confidently tackle projects that require drilling into concrete, achieving proven results every time. Happy drilling!