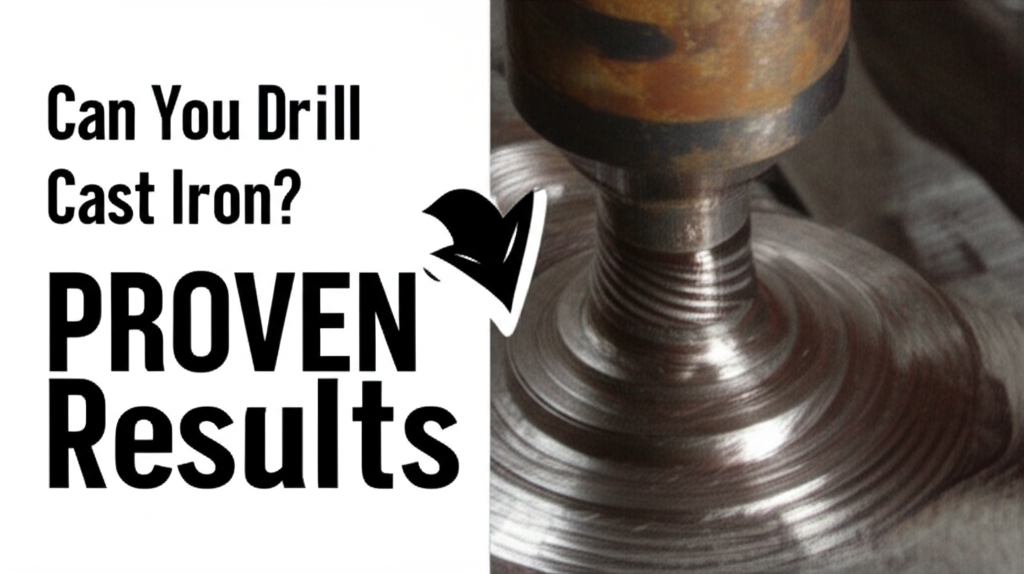
Yes, you absolutely can drill cast iron with the right tools and techniques! While it might seem daunting, with a few key considerations and a steady hand, drilling into cast iron is a manageable task for most DIYers.
Must-Have Tools in Your House If You Work Regularly


Ever found yourself staring at a piece of cast iron, needing to create a hole for a bolt, a bracket, or perhaps a repair, and wondering, “Can I actually drill this?” It’s a common question, and for good reason. Cast iron, with its dense and brittle nature, can feel like a material that’s resistant to any kind of modification. The fear of cracking it, dulling your drill bit instantly, or just making a mess can be overwhelming. But don’t let that stop you! With the right approach, drilling cast iron is not only possible but can be done safely and effectively. We’re here to walk you through exactly how to do it, ensuring your project is a success.
Understanding Cast Iron for Drilling
Before we grab our tools, it’s helpful to understand a little about what makes cast iron unique. Cast iron isn’t a single material; it’s an umbrella term for iron alloys with a carbon content typically ranging from 2% to 4%. This carbon content is what gives it its characteristic properties: excellent castability, good wear resistance, and high compressive strength. However, it also means cast iron is more brittle than steel. Think of it like a very hard cookie – it can be strong, but too much force in the wrong way can cause it to snap.
The different types of cast iron, like gray cast iron, ductile iron, and malleable iron, all have slightly different properties that can affect drilling. Gray cast iron, the most common type, has flakes of graphite, which can help with chip evacuation but also create a more abrasive surface. Ductile iron, with its nodular graphite, is tougher and less brittle, making it a bit more forgiving to drill. Malleable iron is heat-treated to improve ductility.
Knowing which type you’re dealing with isn’t always easy for a beginner, but generally, if it looks like a typical engine block, exhaust manifold, or an old-fashioned kettle, it’s likely a form of cast iron. The key takeaway for drilling is that you’ll need to manage heat, choose the right drill bit, and apply consistent, controlled pressure.
Essential Tools for Drilling Cast Iron
Having the right gear is half the battle when it comes to drilling cast iron. Using the wrong tools can lead to frustration, damaged materials, and potentially unsafe situations. Here’s what you’ll need:
Drill Bits: The Right Stuff
This is probably the most critical component. Standard HSS (High-Speed Steel) drill bits can work, but they will dull quickly and generate a lot of heat. For drilling cast iron, you want bits designed for harder materials.
- Cobalt Drill Bits: These are your best friends for cast iron. Made from high-speed steel alloyed with cobalt, they are significantly harder and can withstand higher temperatures, allowing them to cut through tough metals like cast iron more effectively and with less wear.
- Carbide-Tipped Drill Bits: For extremely hard cast iron or frequent drilling, carbide-tipped bits offer superior hardness and heat resistance. They are more brittle than cobalt bits, so they require careful handling but can provide excellent results.
- Drill Bit Coating: Look for drill bits with a coating like Titanium Nitride (TiN) or Black Oxide. These coatings can improve lubricity, reduce friction, and increase the lifespan of the bit, even on standard HSS bits.
Drilling Power
While a corded or cordless drill can work, the power and torque are important.
- Corded Drills: Often provide more consistent power and torque, which is beneficial for drilling harder materials.
- Cordless Drills: Modern, high-voltage (18V or 20V) cordless drills with good torque settings can also handle cast iron, especially for smaller holes. Ensure the battery is well-charged.
- Drill Press: For accuracy and consistent depth, a drill press is ideal. It provides stable, controlled rotation and allows for precise feed pressure, minimizing the risk of bit wander or breakage.
Lubrication and Cooling
Heat is the enemy of drill bits and cast iron. It can cause bits to lose their temper (harden) and become dull much faster, and it can also stress the cast iron, increasing the risk of cracks.
- Cutting Fluid or Lubricant: Specialized cutting fluids, tapping oils, or even a light machine oil are essential. They help to cool the bit and the workpiece, reduce friction, and assist in chip removal.
Marking and Starting the Hole
Accurate placement is key.
- Center Punch: A center punch is used to create a small indentation at the exact spot where you want to drill. This indentation acts as a guide for the drill bit, preventing it from “walking” or wandering across the surface when you start.
- Hammer: To strike the center punch.
Safety Gear: Non-Negotiable
Working with metal, especially brittle metal that can chip, requires proper protection.
- Safety Glasses: Always wear safety glasses to protect your eyes from flying metal chips.
- Gloves: Work gloves can protect your hands from sharp edges and improve grip.
- Hearing Protection: Some drilling operations can be loud.
Step-by-Step Guide: Drilling Cast Iron
Now that you have your tools, let’s get to the actual drilling. Follow these steps carefully for the best results.
Step 1: Prepare Your Workspace and the Cast Iron Piece
Ensure the cast iron piece is securely clamped or held in place. If you’re drilling a portable piece, use a sturdy workbench and clamps. If it’s a larger component, like an engine block, make sure it’s stable and won’t move during drilling. Clean the area where you intend to drill. Remove any dirt, grease, or rust, as these can interfere with accurate marking and drilling.
Step 2: Mark the Hole Location
Use a marker or scribe to indicate the exact center of the hole. Once marked, take your center punch and place its tip precisely on the mark. Give the center punch a sharp tap with a hammer. You don’t need to create a deep divot, just enough to create a small, distinct indentation. This will guide your drill bit.
Step 3: Select the Correct Drill Bit and Speed
As discussed, a cobalt or carbide-tipped bit is recommended. For the drill speed, you’ll want to go slower than you would for wood or softer metals. High speeds generate excessive heat. A general rule of thumb for cast iron is to use a slower RPM (revolutions per minute). For example:
| Drill Bit Diameter | Recommended Speed (RPM) |
|---|---|
| 1/8″ – 1/4″ | 500 – 800 |
| 1/4″ – 1/2″ | 250 – 500 |
| 1/2″ – 1″ | 100 – 250 |
Note: These are general guidelines. Always check your drill’s manual and adjust based on the specific bit and material.
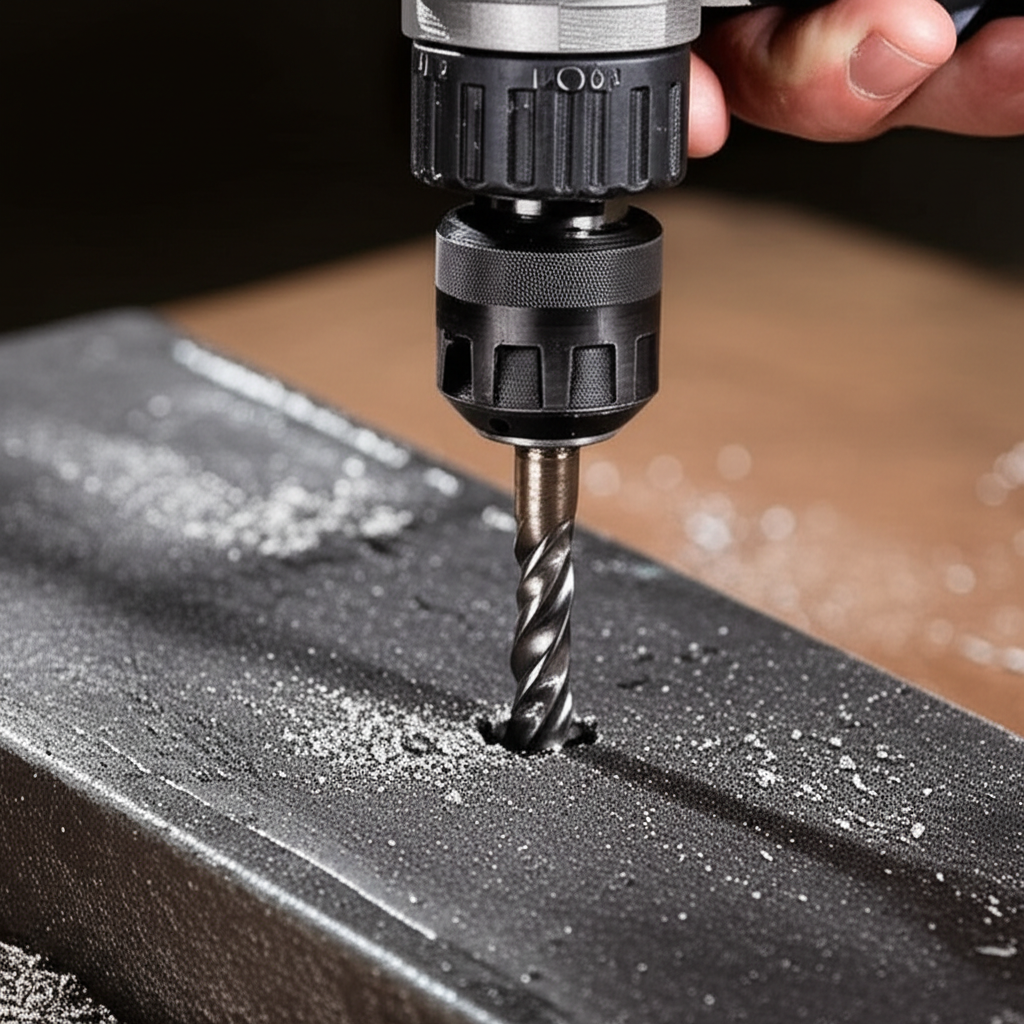
Step 4: Lubricate and Start Drilling
Apply a good amount of cutting fluid or lubricant to the center punch mark and the tip of your drill bit. Place the tip of the drill bit into the indentation you made with the center punch. Start the drill slowly, allowing the bit to bite into the metal. As the hole begins to form, gradually increase the speed slightly, but always prioritize keeping the bit cool.
Step 5: Apply Consistent Pressure and Clear Chips
Apply steady, consistent downward pressure. Don’t force the drill; let the bit do the work. As you drill, you’ll notice chips (or swarf) being produced. These chips can clog the flutes of the drill bit and trap heat. Periodically, and especially if you hear the drill straining or see excessive heat, back the drill bit out of the hole slightly while it’s still spinning slowly. This helps clear the chips from the flutes and allows lubricant to reach the cutting edge. Continue drilling, backing out to clear chips every 10-20 seconds or so, and reapply lubricant as needed.
Step 6: Finishing the Hole
As you approach the other side of the cast iron, ease up on the pressure. This helps prevent the drill bit from “catching” as it breaks through, which could chip the back of the hole or even crack the material. Once the bit has passed through, continue running the drill for a moment to clear any remaining chips, then slowly withdraw the bit.
Step 7: Deburr the Hole
After drilling, there will likely be a small burr (a sharp edge) around the entrance and exit of the hole. Use a deburring tool, a larger drill bit spun by hand, or a file to carefully remove these sharp edges. This makes the hole safer to handle and prepares it for any subsequent work, like tapping threads.
Troubleshooting Common Issues
Even with the best preparation, you might encounter a few hiccups. Here’s how to handle them:
- Drill Bit Wandering: This is usually due to not using a center punch, or the indentation not being deep enough. If it starts wandering, stop, reposition the bit on the mark, and restart with slow speed.
- Overheating: If you see smoke or the bit feels excessively hot, stop immediately. Let everything cool down. Ensure you’re using enough lubricant and drilling at an appropriate speed. You might need a better quality drill bit.
- Chip Buildup: As mentioned, frequent backing out of the bit is key. If the flutes are completely packed, stop, clear them manually (carefully!), and reapply lubricant before continuing.
- Cracking: This is the most serious issue. It typically happens if you apply too much force, drill too fast, or the material is already stressed. If you suspect a crack, stop immediately and assess the damage. Sometimes, a crack can be repaired, but often it means the piece is compromised.
When to Consider Professional Help
While many cast iron drilling tasks are DIY-friendly, there are times when calling a professional might be the wiser choice:
- Very Large or Thick Cast Iron: For very substantial pieces or holes, specialized industrial drilling equipment might be necessary.
- Critical Components: If you’re drilling into a critical component where failure could be catastrophic (e.g., structural parts of a vehicle, pressure vessels), it’s best left to experts who can guarantee the integrity of the material.
- Lack of Confidence or Tools: If you don’t have the right tools, experience, or feel uncertain about the process, it’s always better to err on the side of caution and seek professional help.
Tips for Success
Here are a few extra pointers to ensure your cast iron drilling projects go smoothly:
- Pilot Holes: For larger diameter holes, consider drilling a smaller pilot hole first (e.g., 1/4″ or 3/8″). Then, use a larger bit to enlarge the hole to your desired size. This makes the process easier and reduces the strain on the larger bit.
- Drill Bit Sharpness: Even cobalt bits will eventually dull. If you notice increased resistance or heat, it might be time to sharpen your bit or use a new one. Sharpening drill bits can be done with a drill bit sharpener or a grinding wheel, but it requires a careful touch.
- Patience is Key: Cast iron drilling is not a race. Take your time, work deliberately, and focus on controlled movements.
FAQs About Drilling Cast Iron
Frequently Asked Questions
What is the best type of drill bit for cast iron?
The best drill bits for cast iron are typically made from cobalt steel or have carbide tips. Cobalt bits are alloyed with cobalt, giving them superior hardness and heat resistance compared to standard High-Speed Steel (HSS). Carbide-tipped bits are even harder and more heat-resistant, ideal for very tough materials or frequent drilling. Look for bits specifically rated for drilling hard metals.
Can I use a regular drill for cast iron?
Yes, you can use a regular corded or cordless drill, but it’s important to use the correct drill bits and techniques. A drill with good torque and variable speed control is preferable. You’ll need to run the drill at a slower speed than you would for softer materials to manage heat and prevent bit damage.
What speed should I drill cast iron at?
You should drill cast iron at a slower speed than you would for wood or softer metals. A general guideline is to aim for speeds between 100-800 RPM, depending on the diameter of your drill bit. Smaller bits require faster speeds than larger bits. Always consult a chart for specific recommendations, and prioritize slow, steady drilling to control heat.
Do I need to use a lubricant when drilling cast iron?
Absolutely. Lubrication is crucial when drilling cast iron. It serves to cool the drill bit and the workpiece, reduce friction, and help clear metal chips from the hole. Use a dedicated cutting fluid, tapping oil, or even a light machine oil. Reapply the lubricant frequently during the drilling process.
What happens if I drill cast iron too fast?
Drilling cast iron too fast generates excessive heat. This heat can cause the drill bit to overheat, lose its hardness, and become dull very quickly. It can also stress the cast iron, increasing the risk of the material cracking or chipping. Slow, controlled speeds are essential for successful drilling.
How do I prevent cast iron from cracking while drilling?
To prevent cracking, use the correct tools (especially cobalt or carbide bits), drill at slow speeds, apply consistent and controlled pressure, and use plenty of cutting fluid for cooling. Avoid jerky movements or excessive force. Also, ensure the cast iron piece is well-supported and not under undue stress before you begin drilling.
Can I tap threads into cast iron after drilling?
Yes, you can definitely tap threads into cast iron after drilling. Once you’ve drilled the hole to the correct size for tapping (refer to a tap drill chart), you can use a tap to cut the threads. Lubrication is also important when tapping cast iron, and taking your time to clear chips and avoid cross-threading is key.
Drilling cast iron might seem like a challenge, but with the right preparation, tools, and techniques, it’s a completely achievable task for DIYers. By understanding the material and following these steps, you can confidently tackle projects involving cast iron, ensuring precision and durability. Happy drilling!