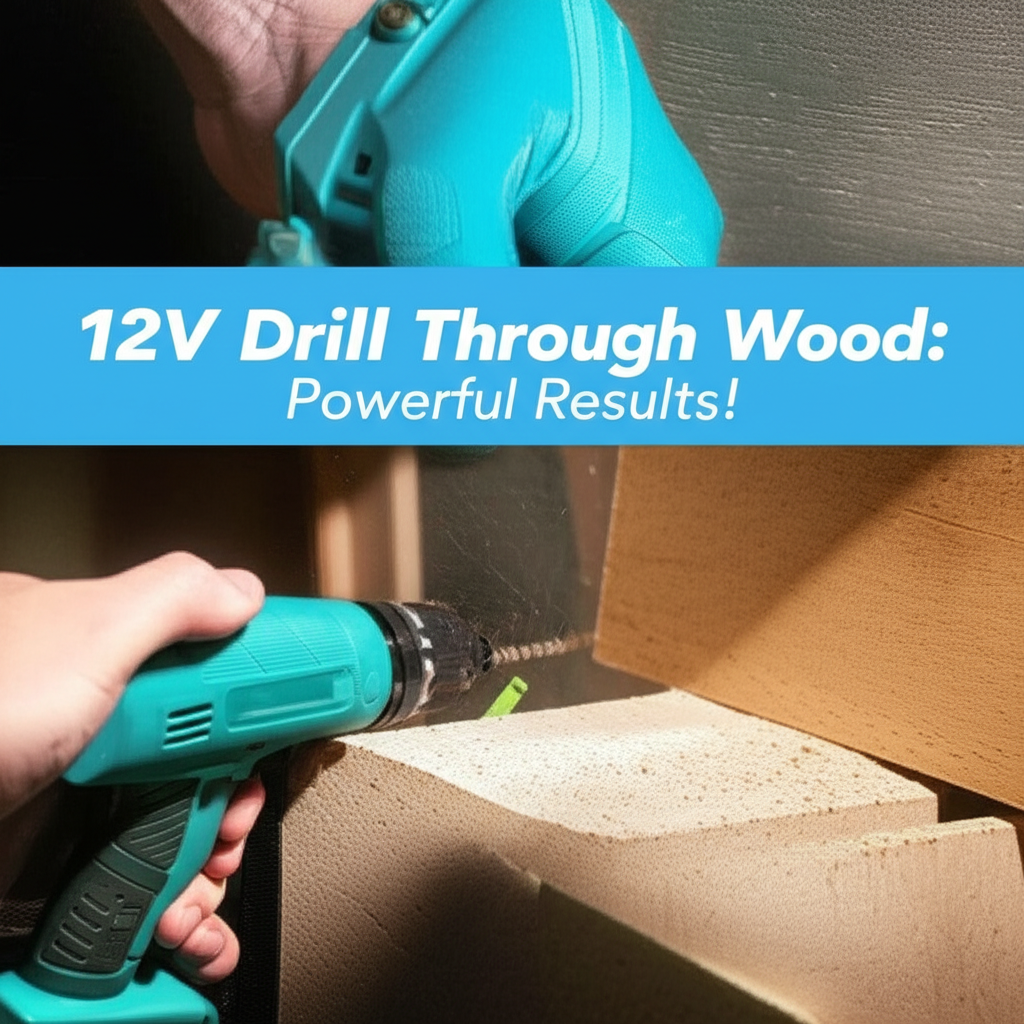
Yes, a 12V drill can absolutely go through wood effectively! With the right bit and technique, you can achieve powerful results for many DIY projects, from hanging shelves to building small furniture. Discover how to make your 12V drill work its best for woodworking tasks.
Must-Have Tools in Your House If You Work Regularly


Ever found yourself with a new DIY project, eager to get started, only to wonder if your trusty 12V drill has enough muscle to handle wood? It’s a common question, especially when you see those larger, corded drills in action. But the good news is, for a vast majority of home and hobbyist woodworking tasks, your 12V drill is more than capable. You might be surprised by the power and precision it can deliver when used correctly. We’ll walk you through everything you need to know to get those clean, efficient holes you’re aiming for, making your woodworking projects a breeze.
Understanding Your 12V Drill for Woodworking
When we talk about drilling through wood, the first thing that comes to mind is often the drill itself. A 12-volt drill is a fantastic tool for many tasks, offering a great balance of power, portability, and ease of use. They are lightweight, making them less fatiguing for extended use, and their compact size allows them to get into tighter spaces. For many DIYers, a 12V drill is the go-to for everyday repairs, assembling furniture, and smaller woodworking projects. The key to unlocking its full potential in wood lies in understanding its capabilities and pairing it with the right accessories and techniques.
What Makes a 12V Drill Suitable for Wood?
The power of a drill is often measured in volts (V) and torque (Nm or in-lbs). While higher voltage drills generally offer more power, a 12V drill is perfectly adequate for drilling into most common types of wood, such as pine, poplar, and even some hardwoods if the drill has sufficient torque and you use the correct approach. The efficiency of the motor, the battery technology, and the overall build quality of the drill play a significant role. Modern 12V drills, especially those from reputable brands, often feature brushless motors which are more efficient and provide more power for their size.
Think of it this way: you wouldn’t use a sledgehammer to hang a picture frame, and you don’t always need a massive corded drill to make a 1-inch hole in a 2×4. Your 12V drill is the perfect tool for the job when the job calls for precision, maneuverability, and moderate power. It’s about using the right tool for the right task, and for many woodworking scenarios, the 12V drill fits the bill beautifully.
Key Components Affecting Wood Drilling Performance
- Motor Type: Brushless motors are generally more powerful and efficient than brushed motors, offering better performance for drilling into wood.
- Battery Voltage: While we’re focusing on 12V, higher voltage (like 18V or 20V) drills will naturally have more power for tougher jobs. However, 12V is sufficient for many wood applications.
- Torque: This is the rotational force of the drill. Higher torque allows the drill to power through denser materials or larger bits more easily.
- Chuck Type: Keyless chucks are standard and easy to use. Ensure it tightens securely around your drill bits.
Choosing the Right Drill Bits for Wood
The drill bit is arguably as important as the drill itself when it comes to drilling wood. Using the wrong bit can lead to tear-out, splintering, and a lot of frustration. Fortunately, there’s a wide variety of drill bits specifically designed for woodworking, each with its own strengths.
Common Wood Drill Bit Types
Here’s a look at some of the most common and effective drill bits for woodworking:
| Drill Bit Type | Description | Best For | Pros | Cons |
|---|---|---|---|---|
| Spade Bits (Paddle Bits) | Flat, broad bit with a sharp point and two cutting spurs. | Larger diameter holes (1/4″ to 1-1/2″). | Fast drilling, inexpensive. | Can be rough, prone to tear-out, less precise. |
| Auger Bits | Threaded tip that pulls the bit into the wood, with a spiral flute to clear shavings. | Deep, clean holes, especially in thicker wood. | Self-feeding, excellent chip removal, precise. | Can be slower than spade bits, more expensive. |
| Brad-Point Bits | Features a sharp center spur that “tacks” into the wood, preventing wandering. | Clean, precise holes, especially for pilot holes or dowels. | Very accurate starting, minimal wandering, clean entry. | Slower drilling than spade bits, not ideal for very large holes. |
| Twist Bits (HSS) | Standard drill bits, often used for metal but can be used for wood. | General-purpose drilling, pilot holes, smaller diameters. | Versatile, widely available, inexpensive. | Can wander, may cause splintering if not used carefully. |
| Forstner Bits | Flat-bottomed bit with a sharp rim and a center point. | Clean, flat-bottomed holes, perfect for counterboring or pocket holes. | Very clean holes, precise depth control, flat bottoms. | More expensive, slower than spade bits, requires a drill press for best results. |
Selecting the Right Bit for Your Task
For most general woodworking with a 12V drill, brad-point bits are an excellent choice. Their center spur ensures the bit starts exactly where you want it, minimizing the frustration of the bit “walking” across the surface. If you need to drill larger diameter holes quickly, a spade bit can work, but be prepared for a slightly rougher finish and potentially more tear-out. For very clean, precise holes, especially for dowels or hardware, brad-point bits are superior. If you’re building something where the hole needs to be perfectly flat at the bottom, like for a cabinet hinge or a decorative plug, a Forstner bit is the way to go, though they perform best with a drill press.
When in doubt, start with a smaller pilot hole using a brad-point bit, and then follow up with a larger bit if needed. This technique helps guide the larger bit and reduces the strain on your 12V drill.
Step-by-Step Guide: Drilling Wood with a 12V Drill
Getting powerful results with your 12V drill through wood is all about preparation and technique. Follow these steps to ensure a smooth and efficient drilling experience.
1. Preparation is Key
- Gather Your Tools: You’ll need your 12V drill, the appropriate drill bit for wood, safety glasses, a pencil, and a piece of scrap wood for testing.
- Mark Your Spot: Use a pencil to clearly mark where you want to drill. For extra precision, you can make a small “X” with the pencil.
- Secure Your Workpiece: This is crucial for safety and accuracy. Use clamps to firmly hold the wood you’re drilling. Never try to hold small pieces by hand while drilling. A sturdy workbench or sawhorse is ideal.
- Choose the Right Bit: Select the drill bit type and size appropriate for your task, as discussed earlier.
- Insert the Bit Correctly: Open the chuck jaws by twisting the collar. Insert the shank of the drill bit as far as it will go. Tighten the chuck firmly by hand, ensuring the bit is centered and secure. Give it a slight twist to ensure it’s not loose.
2. Setting Up Your Drill
- Set the Clutch: Most 12V drills have an adjustable clutch with numbered settings. This controls the amount of torque the drill applies before it slips. For drilling wood, you’ll typically want to set the clutch to a higher number (closer to the drill setting) to allow the drill to spin freely without stopping prematurely. If your drill has a separate “drill” mode (often indicated by a drill bit symbol), make sure it’s set to that.
- Check Battery Level: Ensure your 12V battery is adequately charged for the task ahead.
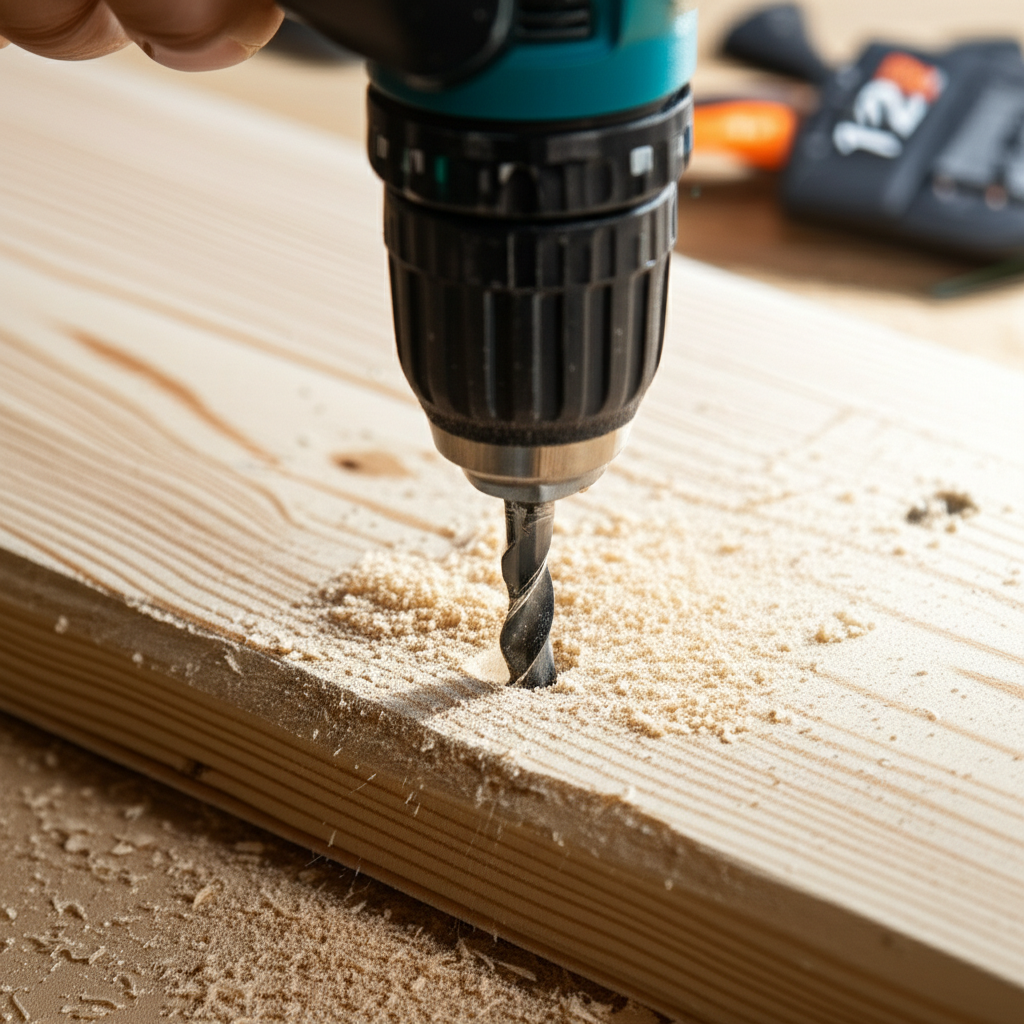
3. The Drilling Process
- Positioning: Hold the drill perpendicular to the surface of the wood. For brad-point bits, align the center spur with your pencil mark.
- Start Slowly: Begin drilling at a slow speed. This helps the bit bite into the wood cleanly and prevents the bit from jumping.
- Apply Steady Pressure: Once the bit has started to cut, increase the speed slightly and apply steady, even pressure. Let the drill bit do the work; forcing it can overheat the motor or break the bit.
- Manage Debris: For deeper holes, periodically pull the drill bit out of the hole while it’s still spinning slowly. This clears out wood shavings (chips) and prevents the bit from getting jammed. This is especially important with auger bits and twist bits.
- Maintain Perpendicularity: Try to keep the drill as straight as possible throughout the drilling process. If you’re drilling through a thicker piece of wood, drilling halfway from one side, then flipping the piece and finishing from the other side can result in a cleaner exit hole.
- Finishing the Hole: As you feel the bit about to break through the other side, ease up on the pressure and slow down the drill speed. This helps prevent splintering or tear-out on the exit side.
4. Post-Drilling
- Withdraw the Bit: Once the hole is complete, keep the drill spinning slowly as you pull it straight out of the hole.
- Clean Up: Remove any excess wood chips from the hole and around the drilled area. You can use a brush or compressed air.
- Inspect: Check the hole for cleanliness and accuracy. If necessary, you can use a deburring tool or a larger bit at a very shallow angle to clean up the edges.
Maximizing Your 12V Drill’s Woodworking Potential
Even with the right bits and techniques, there are a few extra tips to help you get the most out of your 12V drill when working with wood.
Tips for Better Wood Drilling
- Use Pilot Holes: For screws or larger drill bits, always drill a pilot hole first. The pilot hole should be slightly smaller than the screw’s shank or the main body of the drill bit. This makes driving screws easier, prevents wood from splitting, and guides larger bits accurately.
- Control Speed: Many 12V drills have variable speed triggers. Use a slower speed for starting the hole and for drilling into hardwoods, and a faster speed for softer woods or when clearing debris.
- Don’t Overheat: If your drill or the bit feels excessively hot, stop and let them cool down. Overheating can damage the drill’s motor or battery, and can also scorch the wood.
- Keep Bits Sharp: Dull drill bits require more force, generate more heat, and produce rougher holes. Sharpen your bits regularly or replace them when they become dull.
- Consider Drill Press for Precision: While a handheld drill is versatile, a drill press offers unparalleled accuracy and stability for repetitive drilling or precise angled holes. If you do a lot of woodworking, a drill press might be a worthwhile investment.
When to Consider a More Powerful Drill
While a 12V drill is fantastic for many tasks, there are situations where you might need more power:
- Large Diameter Holes: Drilling holes larger than 1.5 inches in diameter, especially in dense hardwoods, can be challenging for a 12V drill.
- Hardwoods: Woods like oak, maple, or hickory are significantly denser than softwoods and require more torque.
- Repetitive Heavy Drilling: If your work involves drilling many large holes consistently, a more powerful drill (like an 18V or corded model) will be more efficient and less taxing on your tools.
- Very Thick Material: Drilling through very thick lumber (e.g., 4 inches or more) can also benefit from the extra power and battery life of a higher voltage drill.
For these more demanding tasks, an 18V or 20V cordless drill, or even a corded drill for maximum, consistent power, would be a better choice. However, for the vast majority of typical DIY and home improvement projects, your 12V drill is more than up to the task.
Frequently Asked Questions (FAQs)
Can I use a 12V drill for DIY furniture making?
Absolutely! For assembling flat-pack furniture, creating pilot holes for screws, and drilling smaller decorative holes, a 12V drill is perfect. Its lightweight nature makes it easy to handle for extended periods, which is common when building furniture.
Will a 12V drill go through plywood?
Yes, a 12V drill can easily go through plywood. Plywood is generally not as dense as solid hardwoods, so your 12V drill will handle it well, especially with the correct drill bits like brad-point or twist bits.
What’s the largest hole I can realistically drill with a 12V drill in wood?
For most 12V drills, you can comfortably drill holes up to about 1 inch in diameter in common woods like pine. You might be able to go up to 1.5 inches with spade bits or auger bits, but it will require more effort and may drain the battery faster. For holes larger than that, especially in harder woods, you might consider an 18V or corded drill.
How do I prevent the wood from splitting when I drill with my 12V drill?
To prevent splitting, always use a sharp drill bit, especially a brad-point bit which has a centering spur. Drilling a pilot hole first is also highly recommended. Additionally, ease up on the pressure as the bit is about to break through the other side of the wood.
Is it safe to use a 12V drill for extended periods?
Yes, 12V drills are designed for comfortable, extended use due to their lighter weight compared to larger drills. However, always listen to your tools and your body. If the drill or battery becomes excessively hot, take a break to let them cool down. Ensure you are always wearing safety glasses.
Can I use a 12V drill with a hole saw?
It depends on the size of the hole saw and the type of wood. For smaller hole saws (1-2 inches) in softer woods, a 12V drill with a good amount of torque might be able to manage. However, hole saws require significant torque, especially as they cut, and can quickly drain a 12V battery or even stall the drill. For larger hole saws or harder woods, an 18V or corded drill is highly recommended for better performance and tool longevity.
What’s the difference between a 12V and an 18V drill for woodworking?
An 18V drill generally offers more power (torque and speed) and a longer runtime per charge than a 12V drill. This makes 18V drills better suited for heavier-duty tasks like drilling large holes, working with hardwoods, or using accessories like hole saws or large drill bits for extended periods. 12V drills are lighter, more compact, and excellent for general DIY, light assembly, and precision tasks where extreme power isn’t the primary requirement.